Integrating with Zapier
Discover step-by-step instructions to connect Talvin AI with Zapier for automated workflows and enhanced productivity.
Written By Talvin AI
Last updated About 1 year ago
Obtain Your Talvin AI API Key:
Before you begin, ensure you have your Talvin AI API Key and Organization ID. If you haven't already, please refer to the "Managing API Keys for Talvin AI" section for detailed steps on how to generate and retrieve your
API keyand locate yourOrganization ID.
Create a Zapier Account:
Go to the Zapier website: https://zapier.com
Click on "Start free with Google" or "Start free with email" to create an account.

Follow the on-screen prompts to complete your registration. This may include:
Selecting your role (e.g. "Business Owner", "Data Science", "IT").
Indicating your company size (e.g. "1-49", "50-249").
Choosing initial apps you commonly use (you can skip this step if desired).
Accept the Talvin AI Zapier Invite:
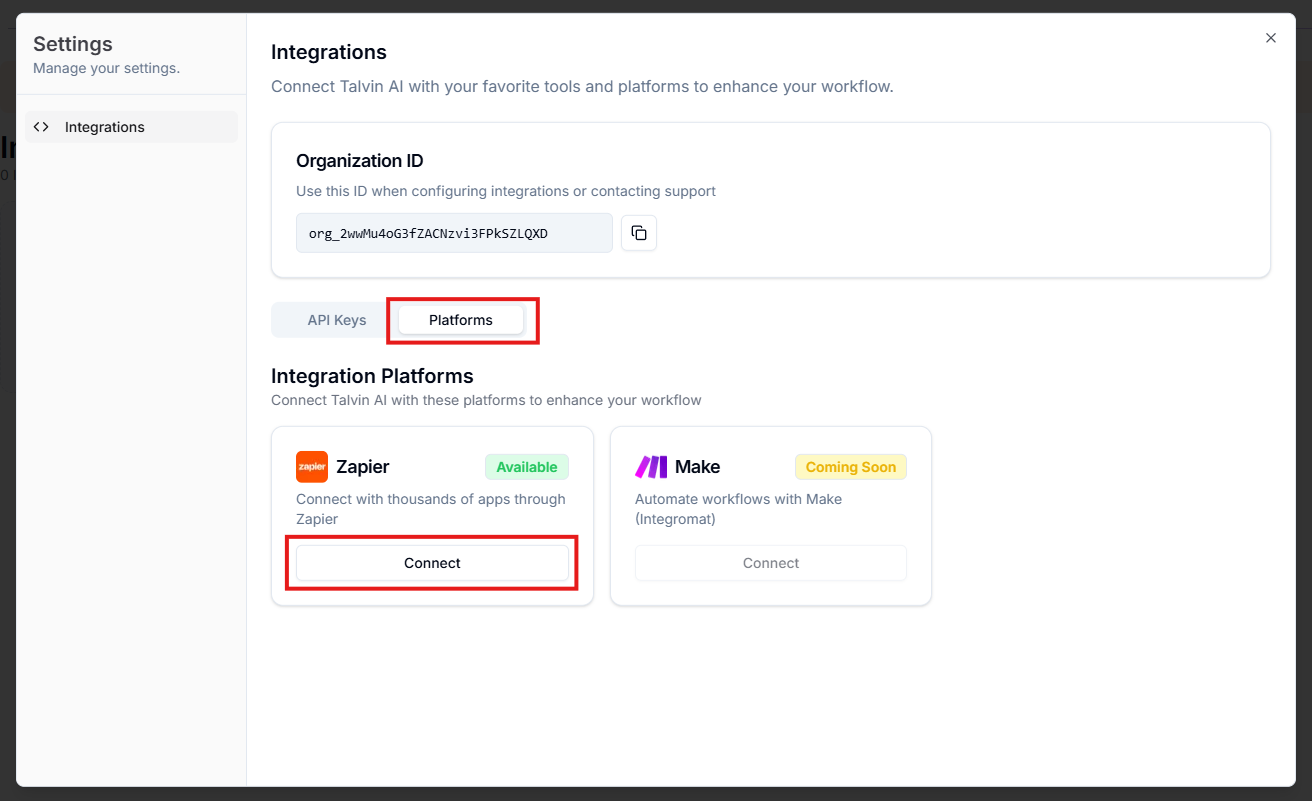
Go to your Talvin AI dashboard.
Navigate to Settings > Integrations.
Select the Platforms tab.
In the Zapier card, click the Connect button.
This will redirect you to Zapier, where you will see a page inviting you to use Talvin AI on Zapier. Click the "Accept Invite & Build a Zap" button to accept the invitation and add Talvin AI to your Zapier account.
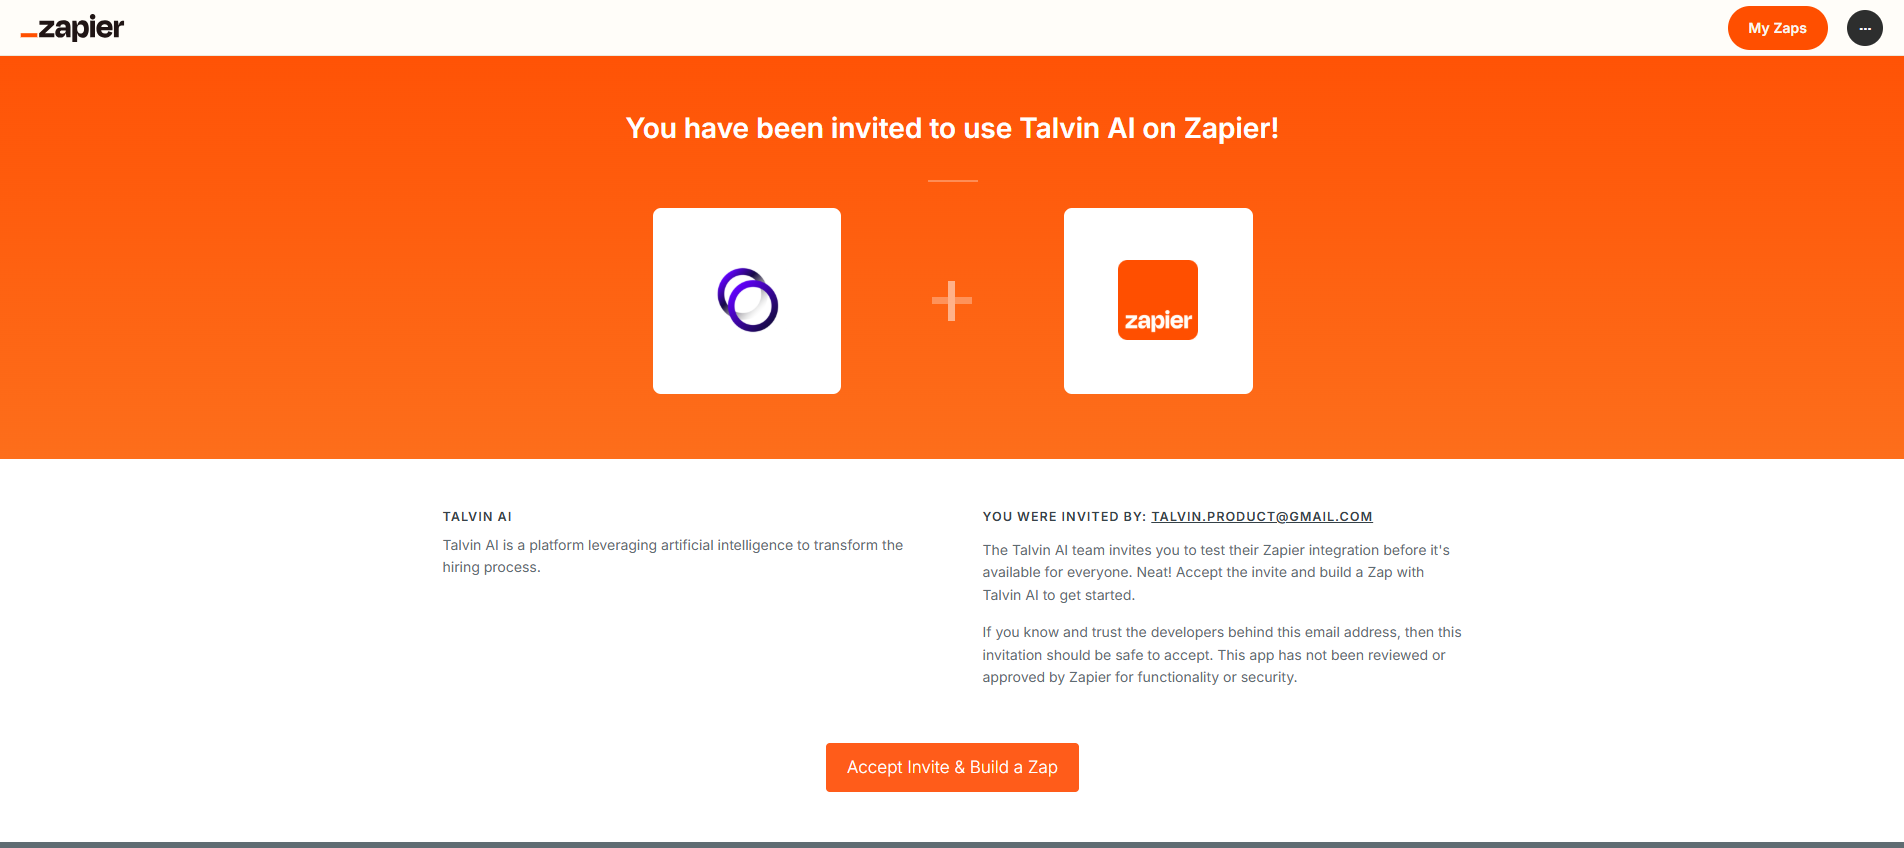
You will then be redirected to your Zapier dashboard, where you can start creating Zaps.
Connect Talvin AI to Zapier:
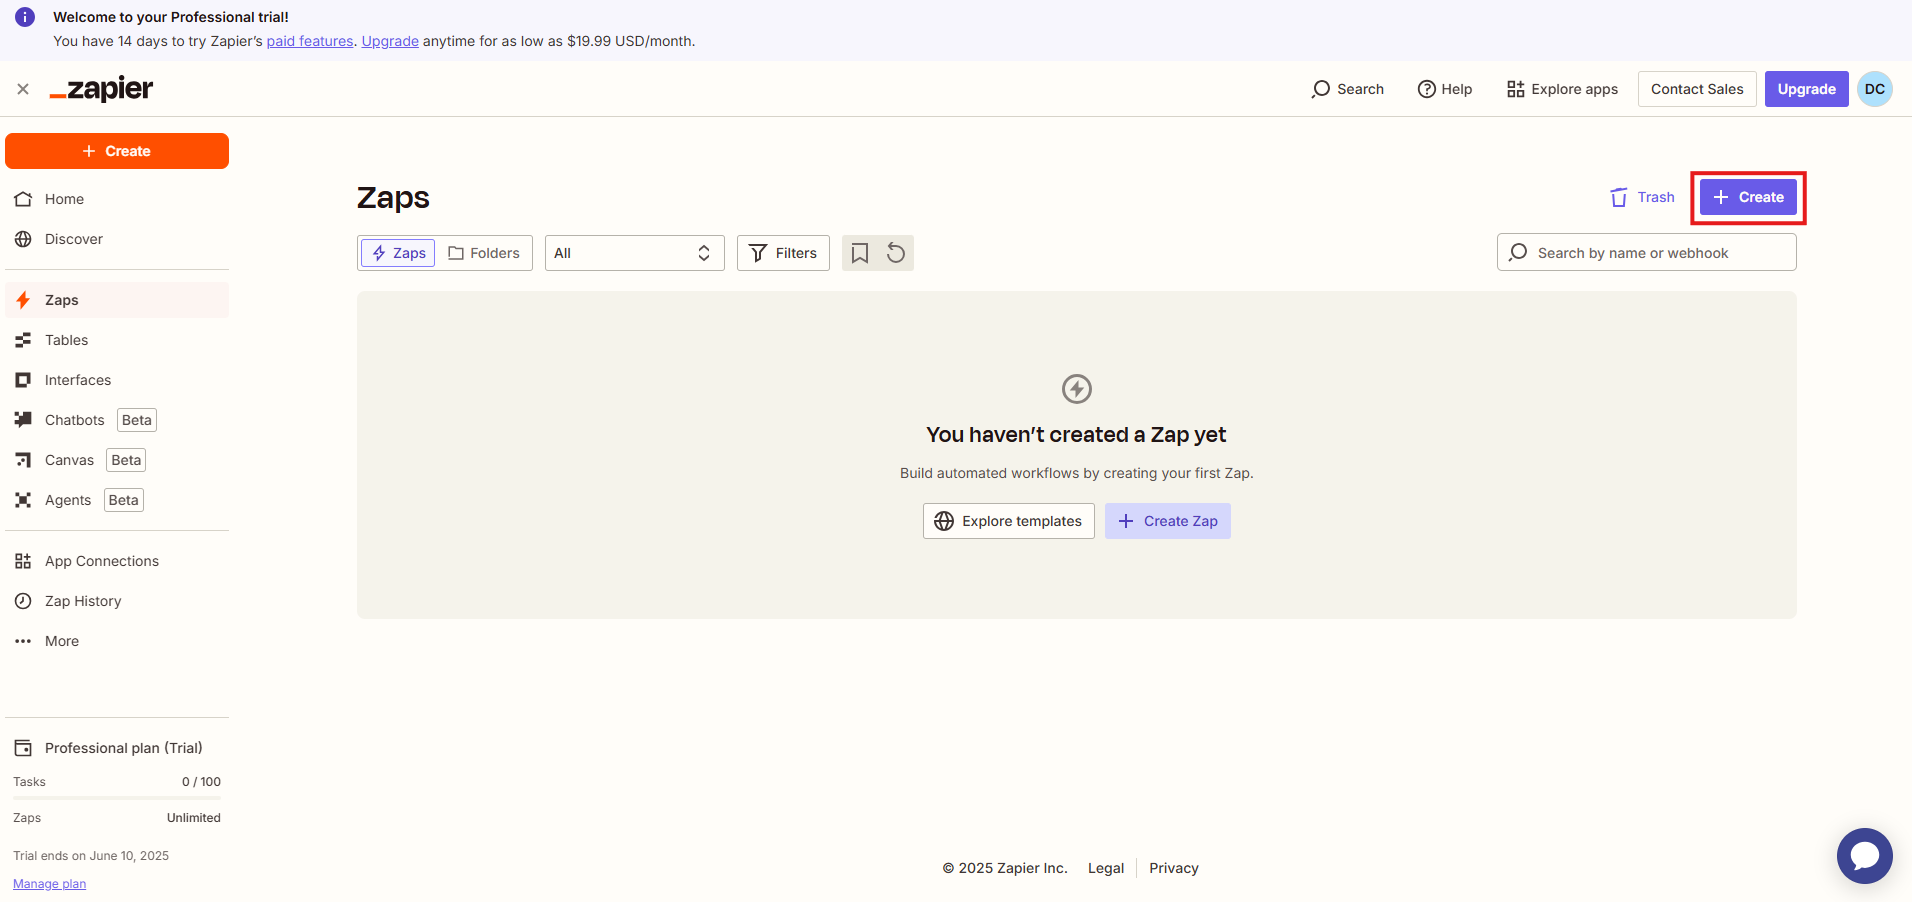
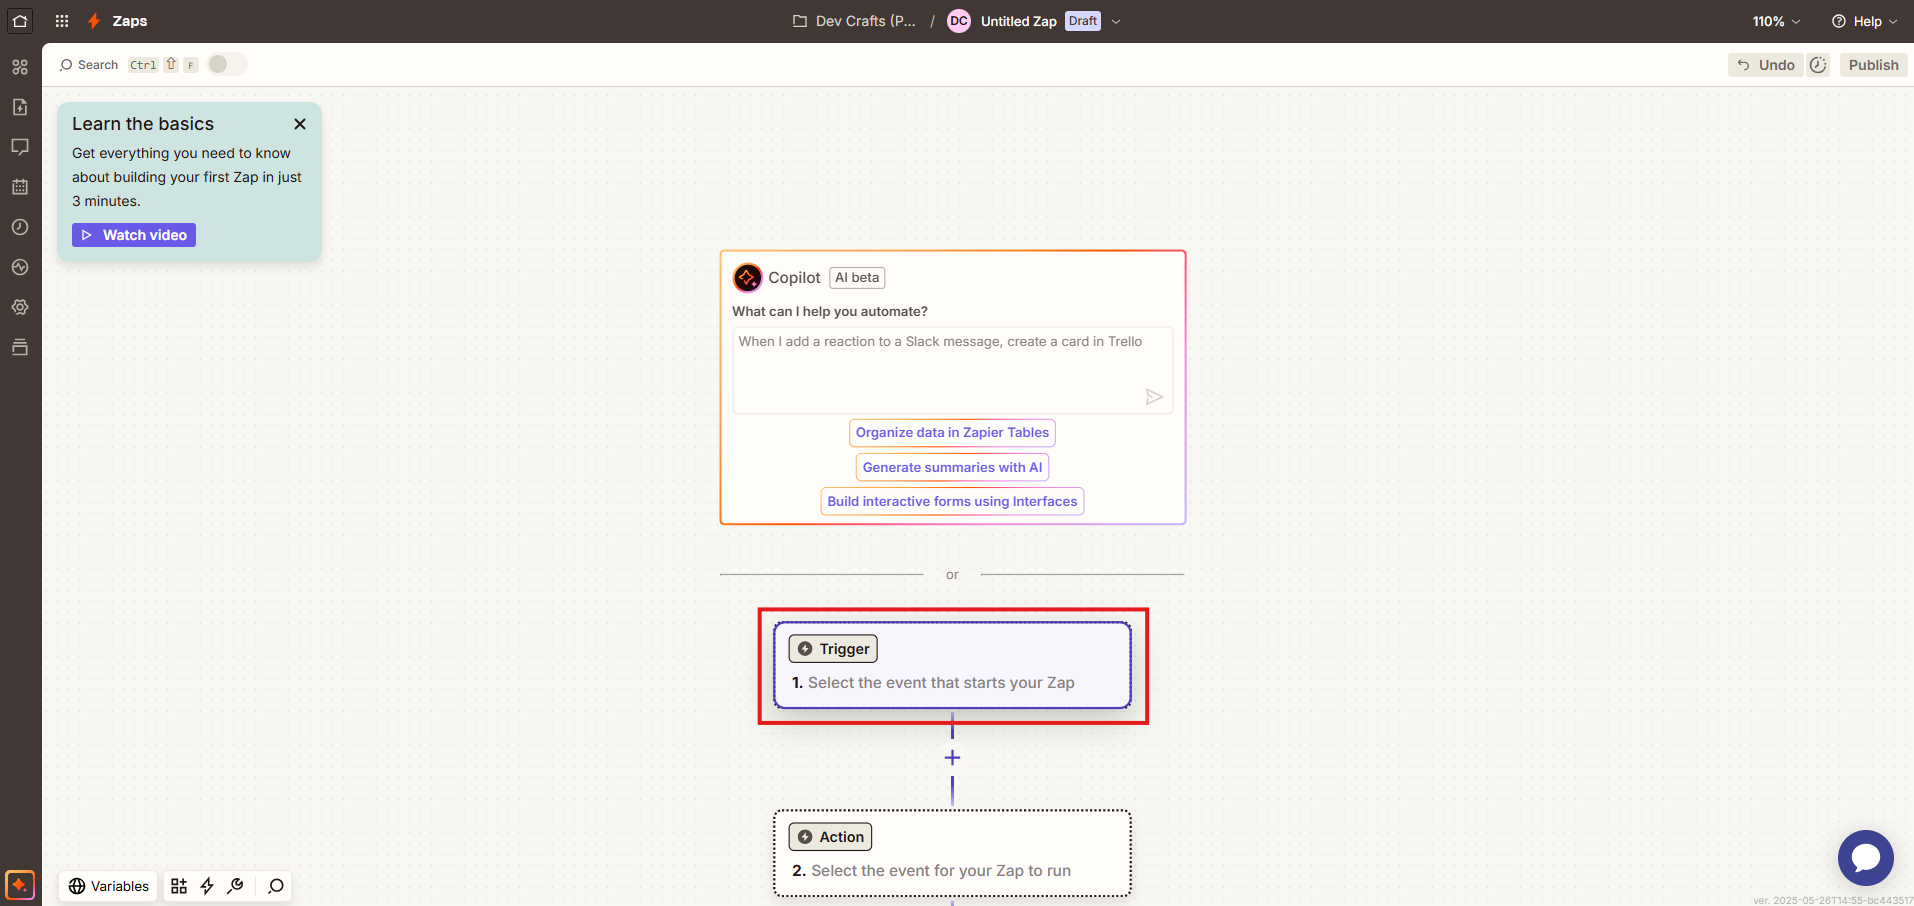
From your Zapier dashboard, click the "Create" button.
You will see an option to "Select the event that starts your Zap" under "Trigger."
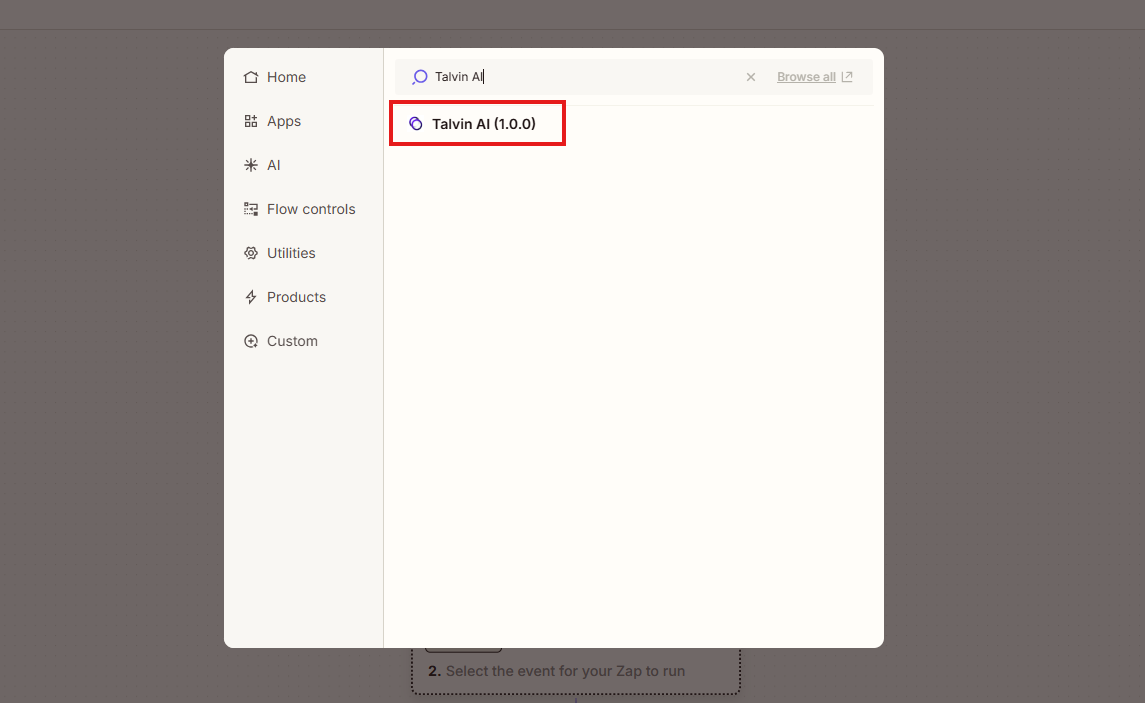
In the search bar provided, type "Talvin AI" and select "Talvin AI (1.0.0)" from the search results.
Click "Sign in" to connect your Talvin AI account.
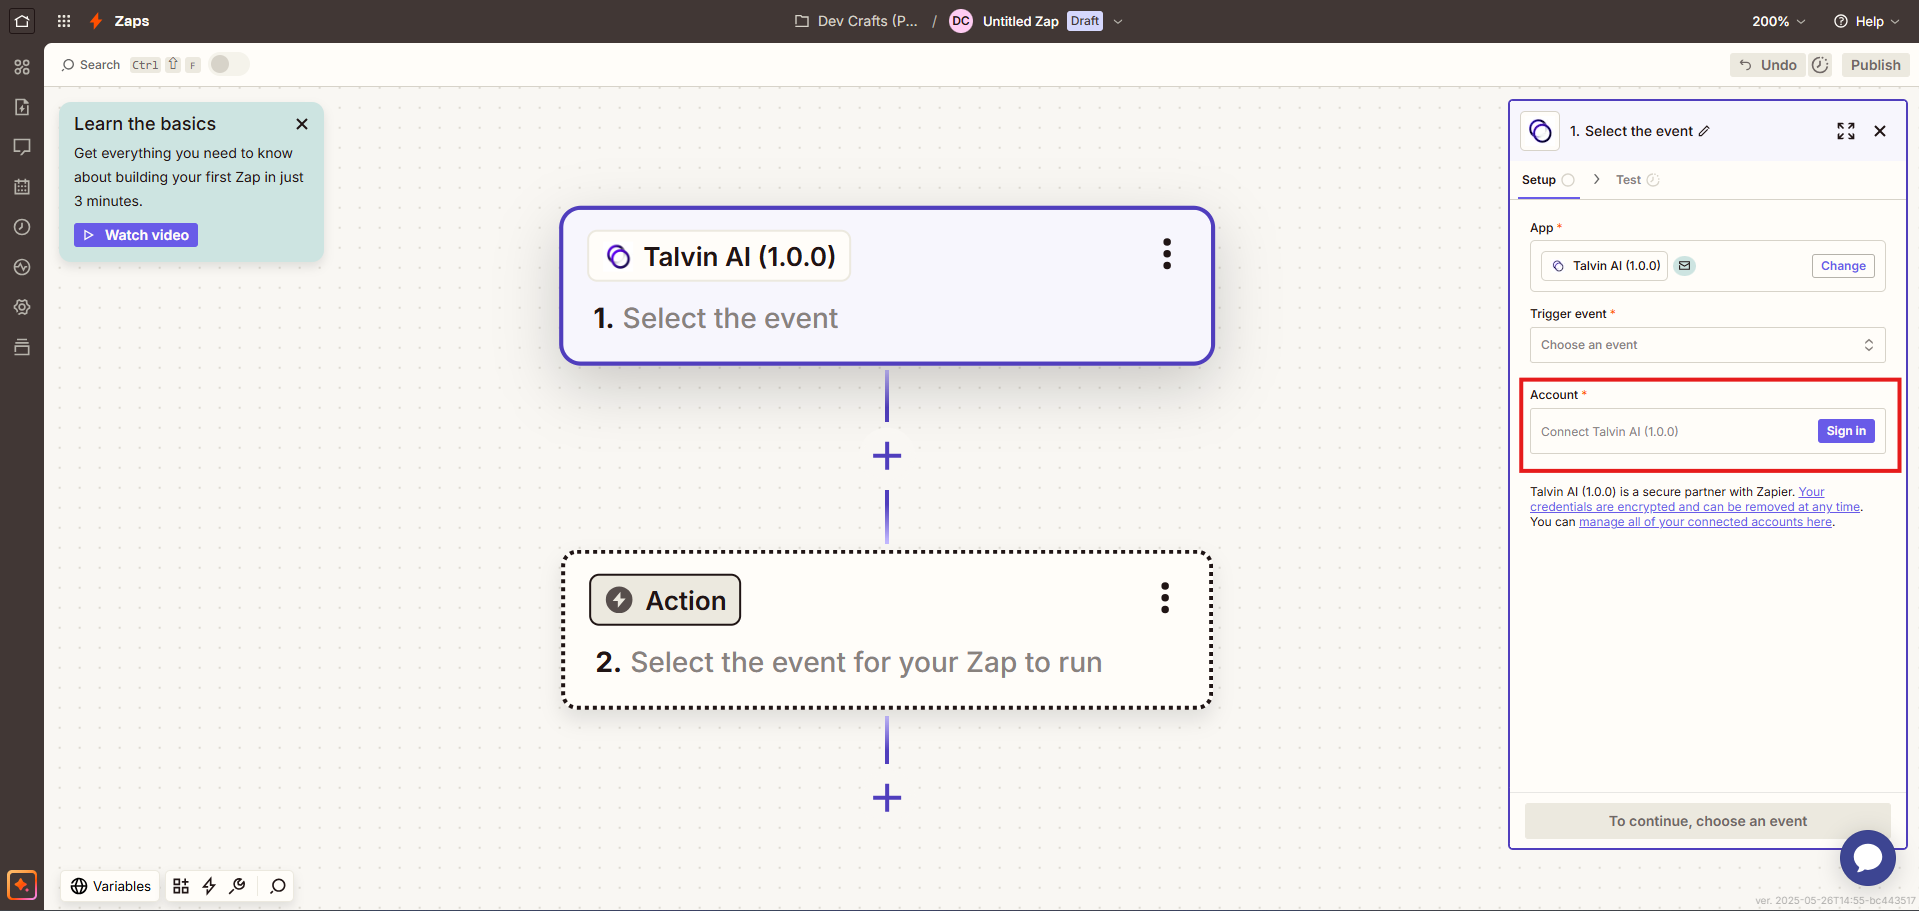
A pop-up window will appear asking for your Talvin AI API Key and Organization ID. Paste the API Key and Organization ID you obtained in Step 1 into the designated fields.

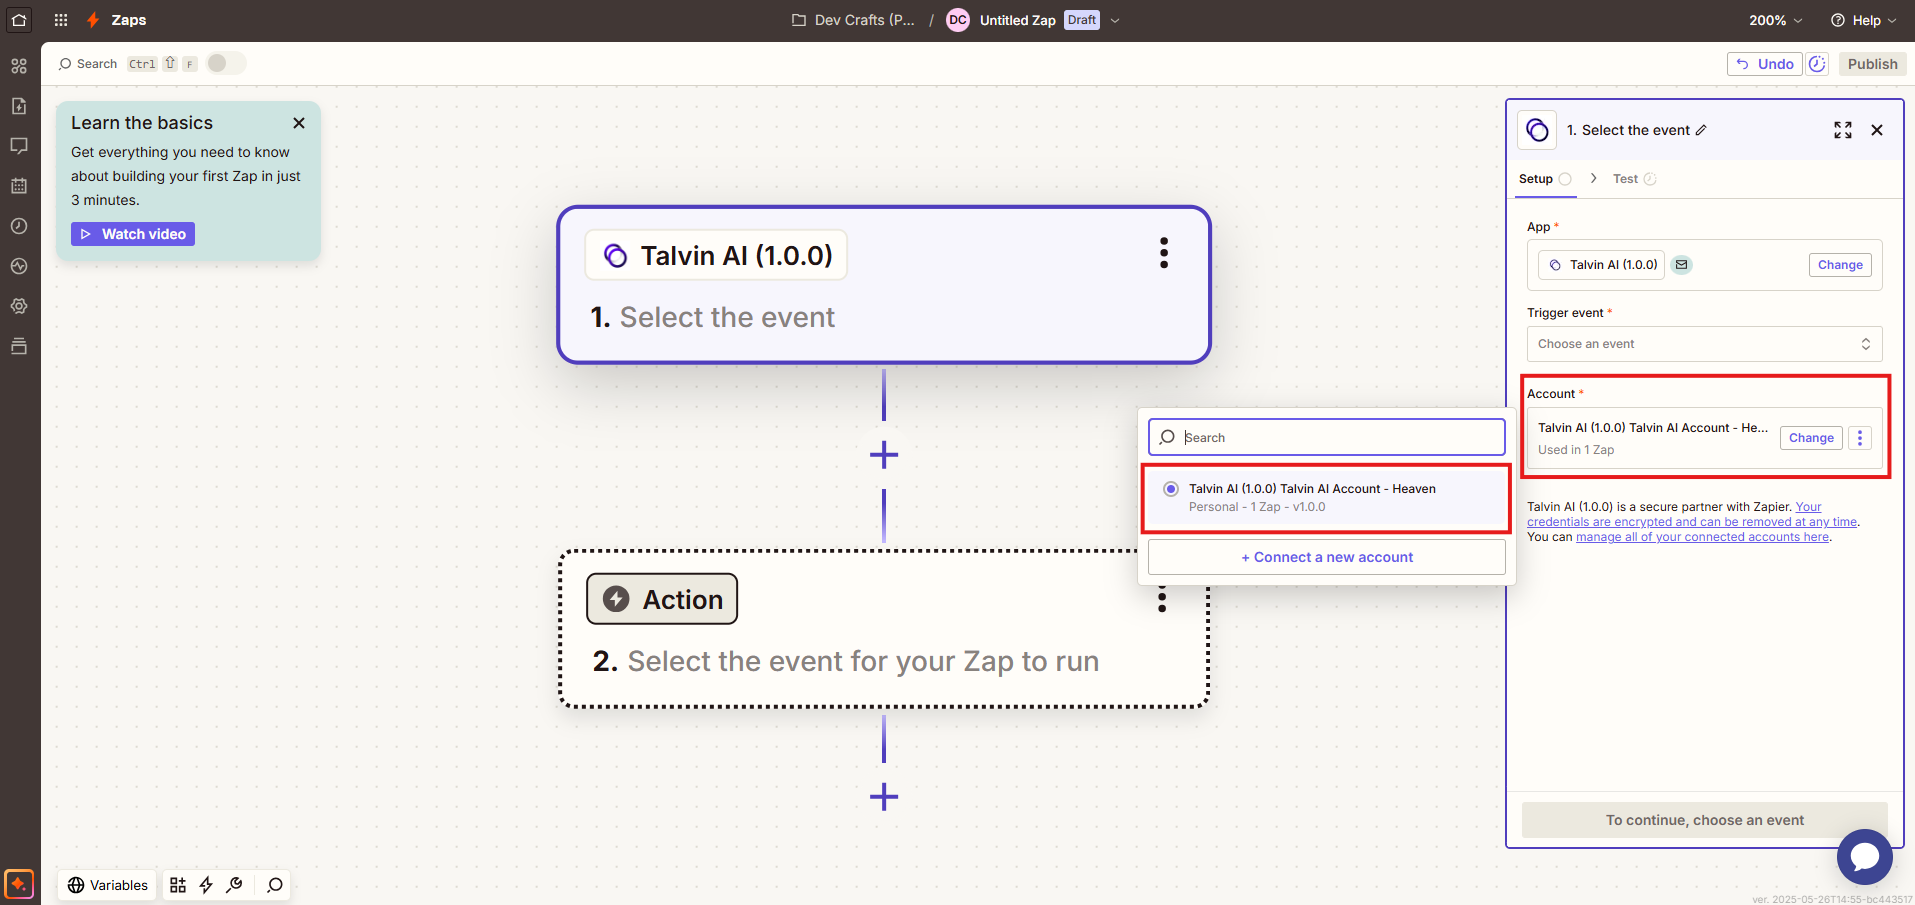
Click "Yes, Continue" to authorize the connection. Once successful, you'll see your Talvin AI account listed.
Create a Simple Workflow (Example Zap):
Set up your Trigger: After connecting Talvin AI, select the specific trigger event you want to use from Talvin AI (e.g. "New Interview", "Candidate Status Changed"). Follow the prompts to set up the trigger details.

Add an Action:
Below the "Trigger" section, click the "+" icon to add an action step.
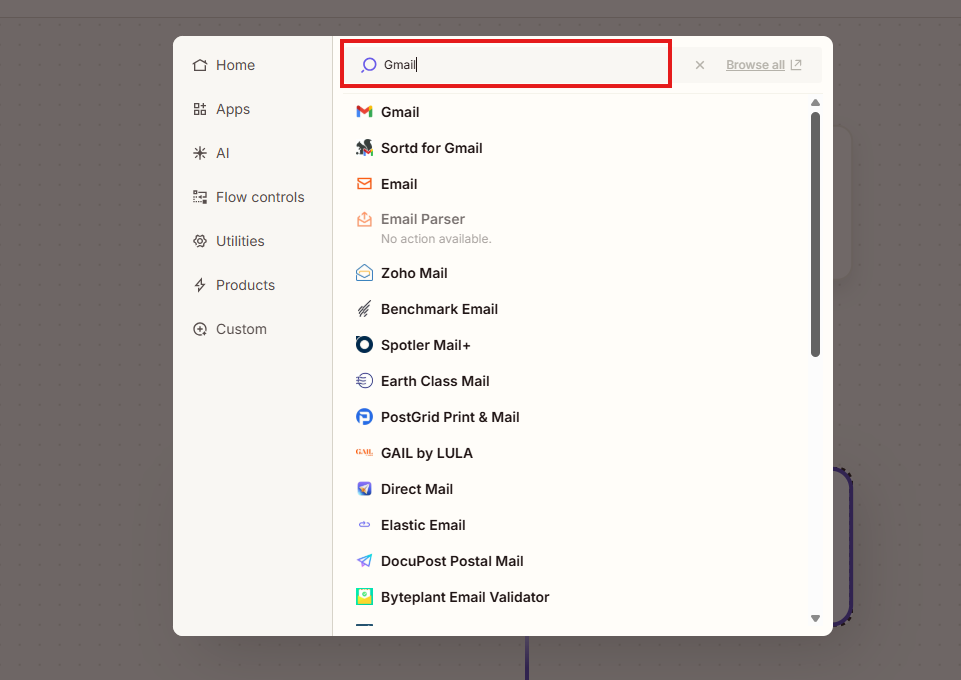
Search for and select the app you want to integrate with (e.g. "Gmail", "Slack", "Google Sheets", "Trello").
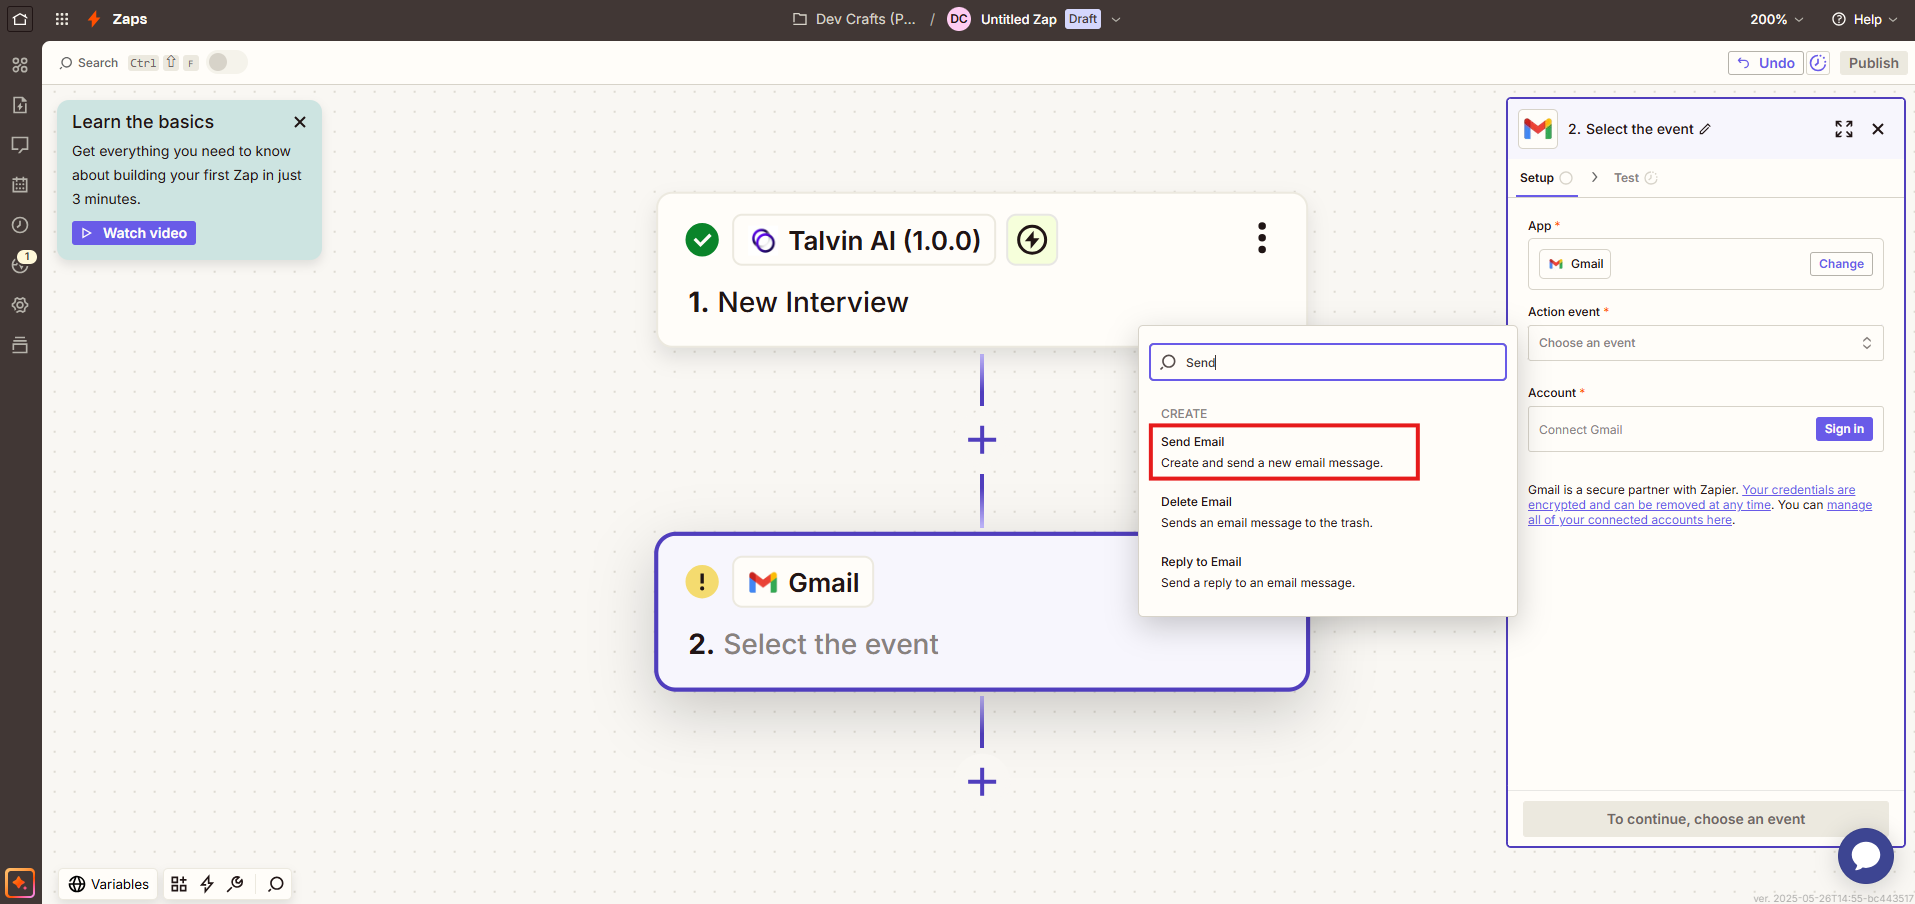
Choose the action event you want to perform (e.g. "Send Email", "Send Channel Message", "Create Spreadsheet Row", "Create Card").
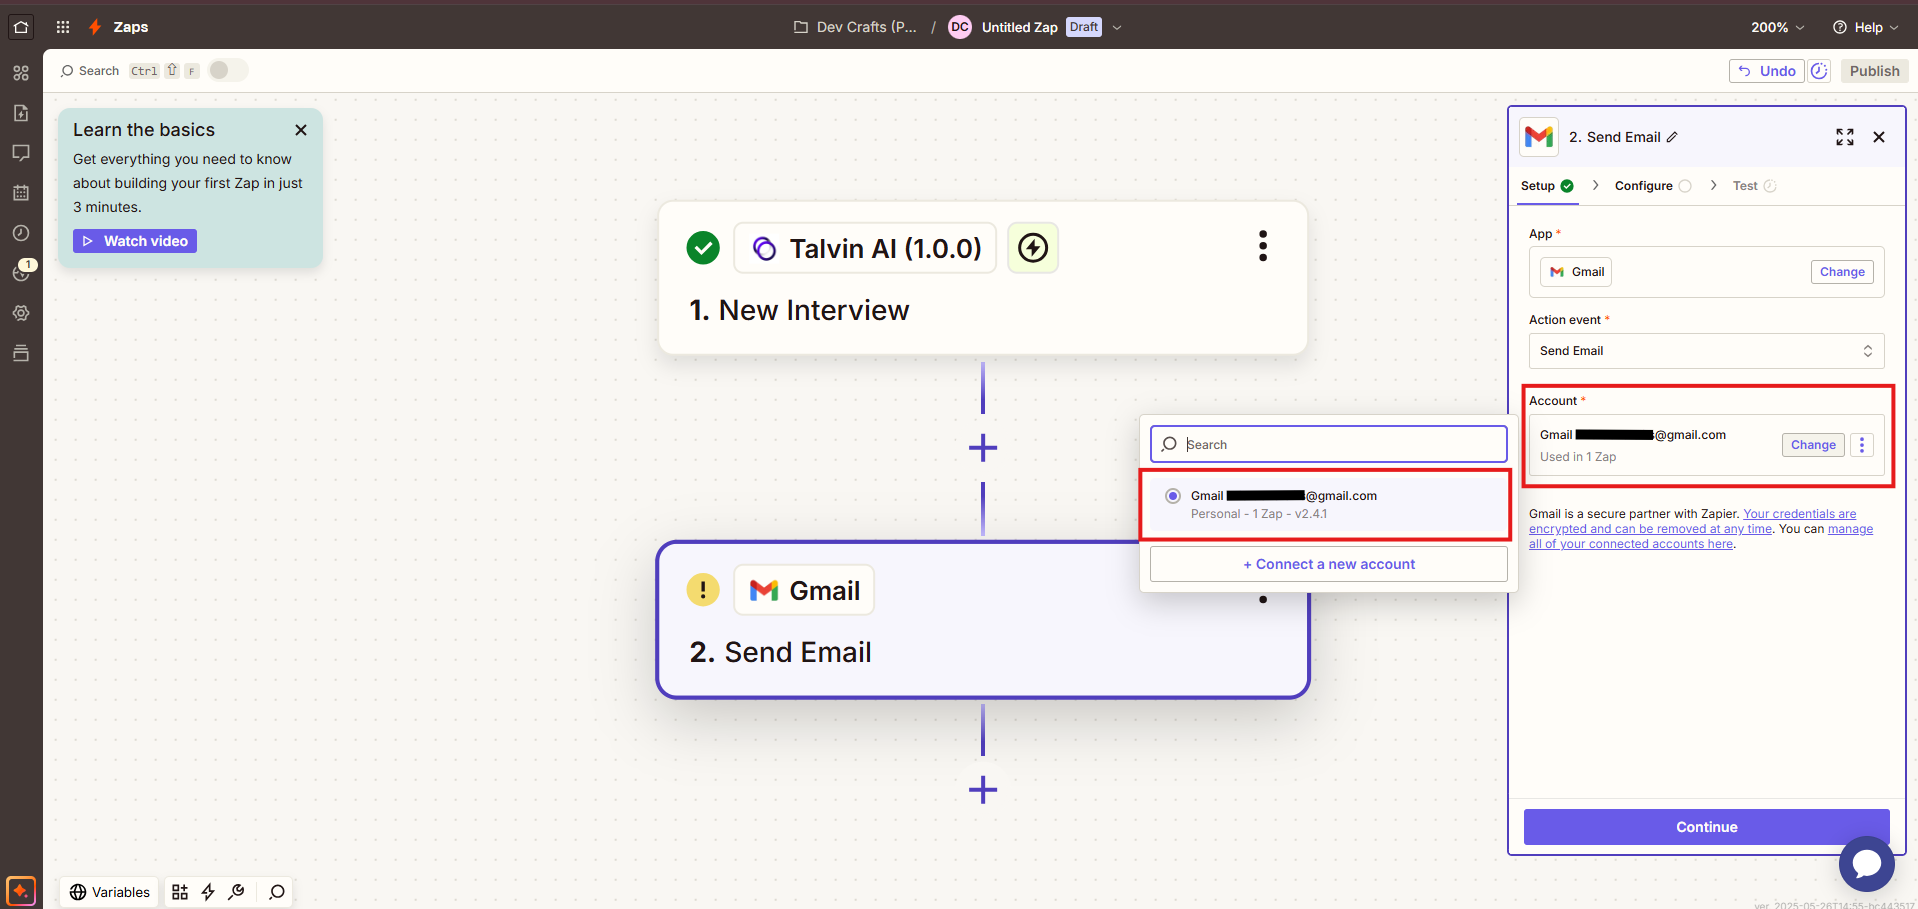
Connect your account for the chosen action app.
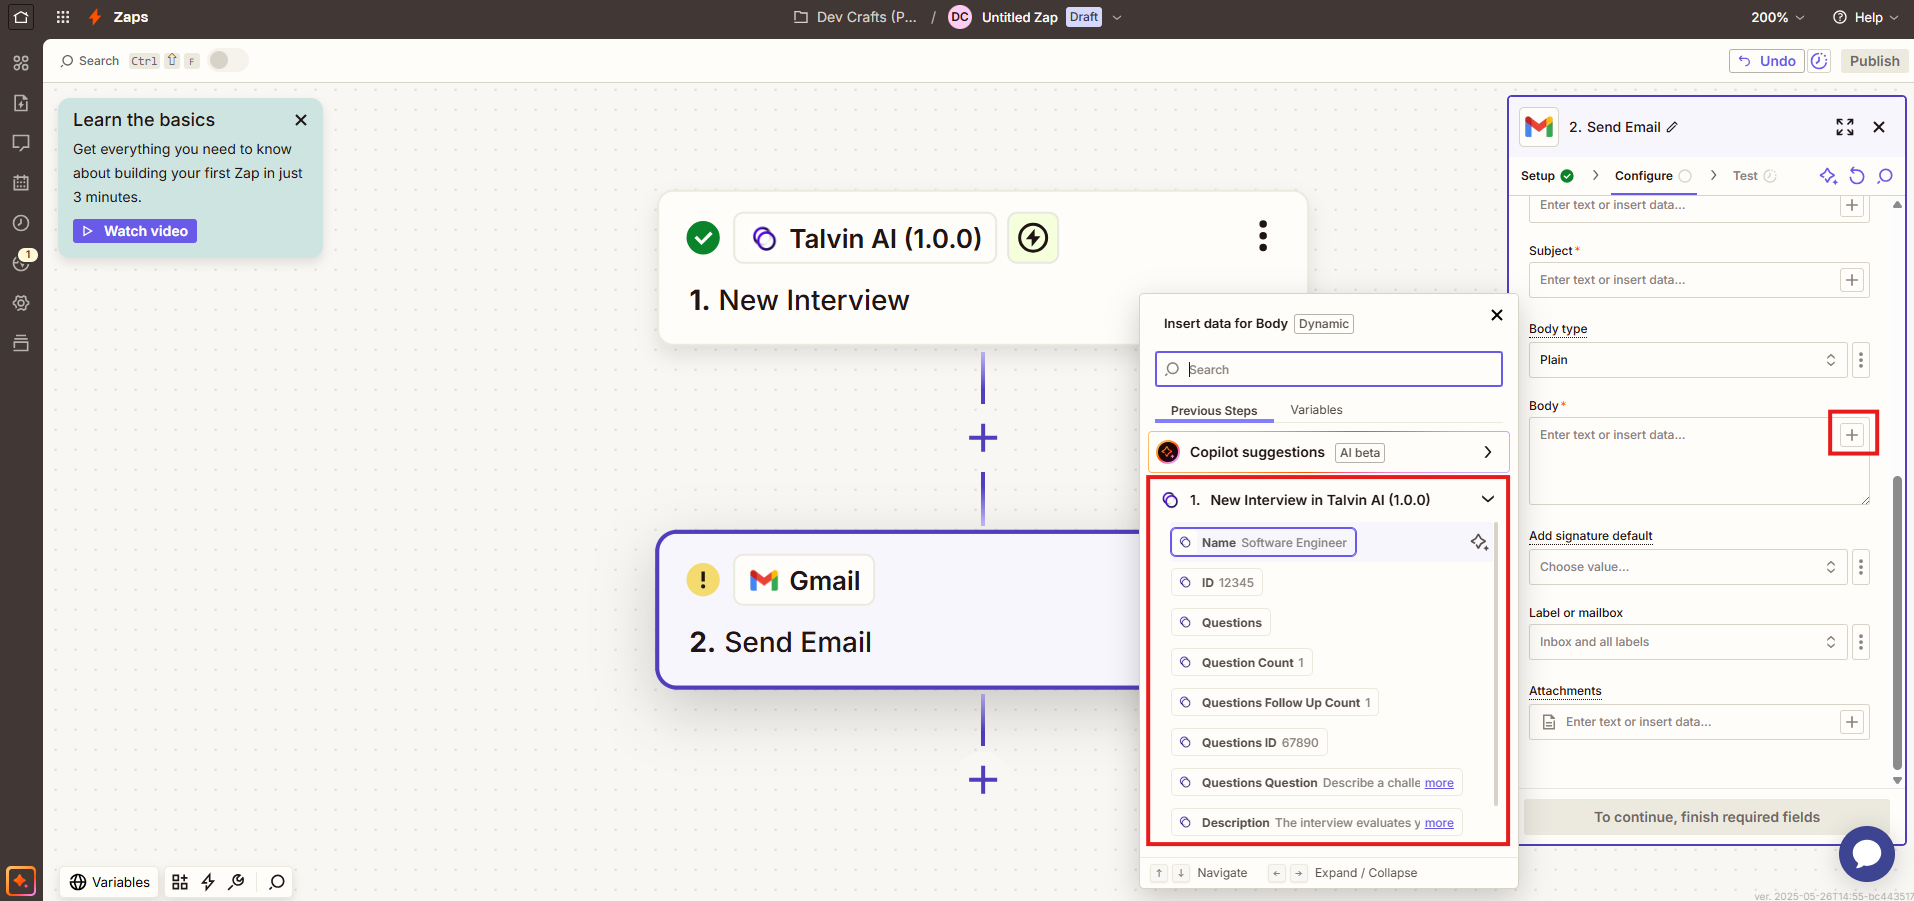
Map the data from your Talvin AI trigger to the fields in your action step. For example, when a "New Interview" event triggers, you might map the interview details from Talvin AI to the subject or body of an email sent via Gmail.
Test and Publish:
Zapier will guide you through testing your Zap to ensure it works correctly.
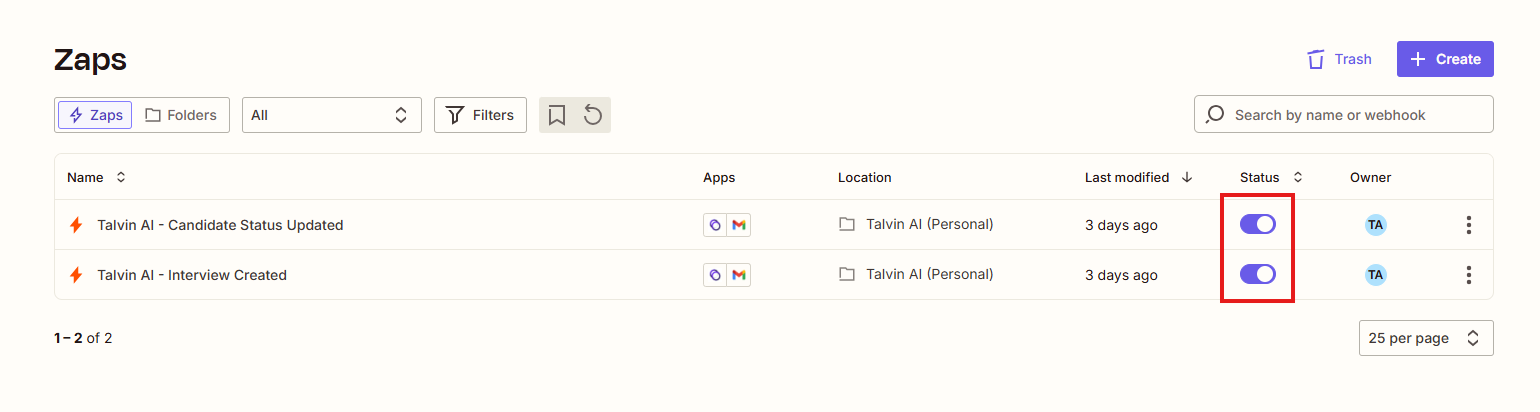
Once tested and confirmed, turn your Zap "On" to activate the automation.