Integrating with Ashby
Seamlessly connect Talvin AI with Ashby to enhance your hiring workflow.
Written By Talvin AI
Last updated 12 months ago
Set up Integration with Ashby
Obtaining an API Key in Talvin AI
Log in to your Talvin AI account.
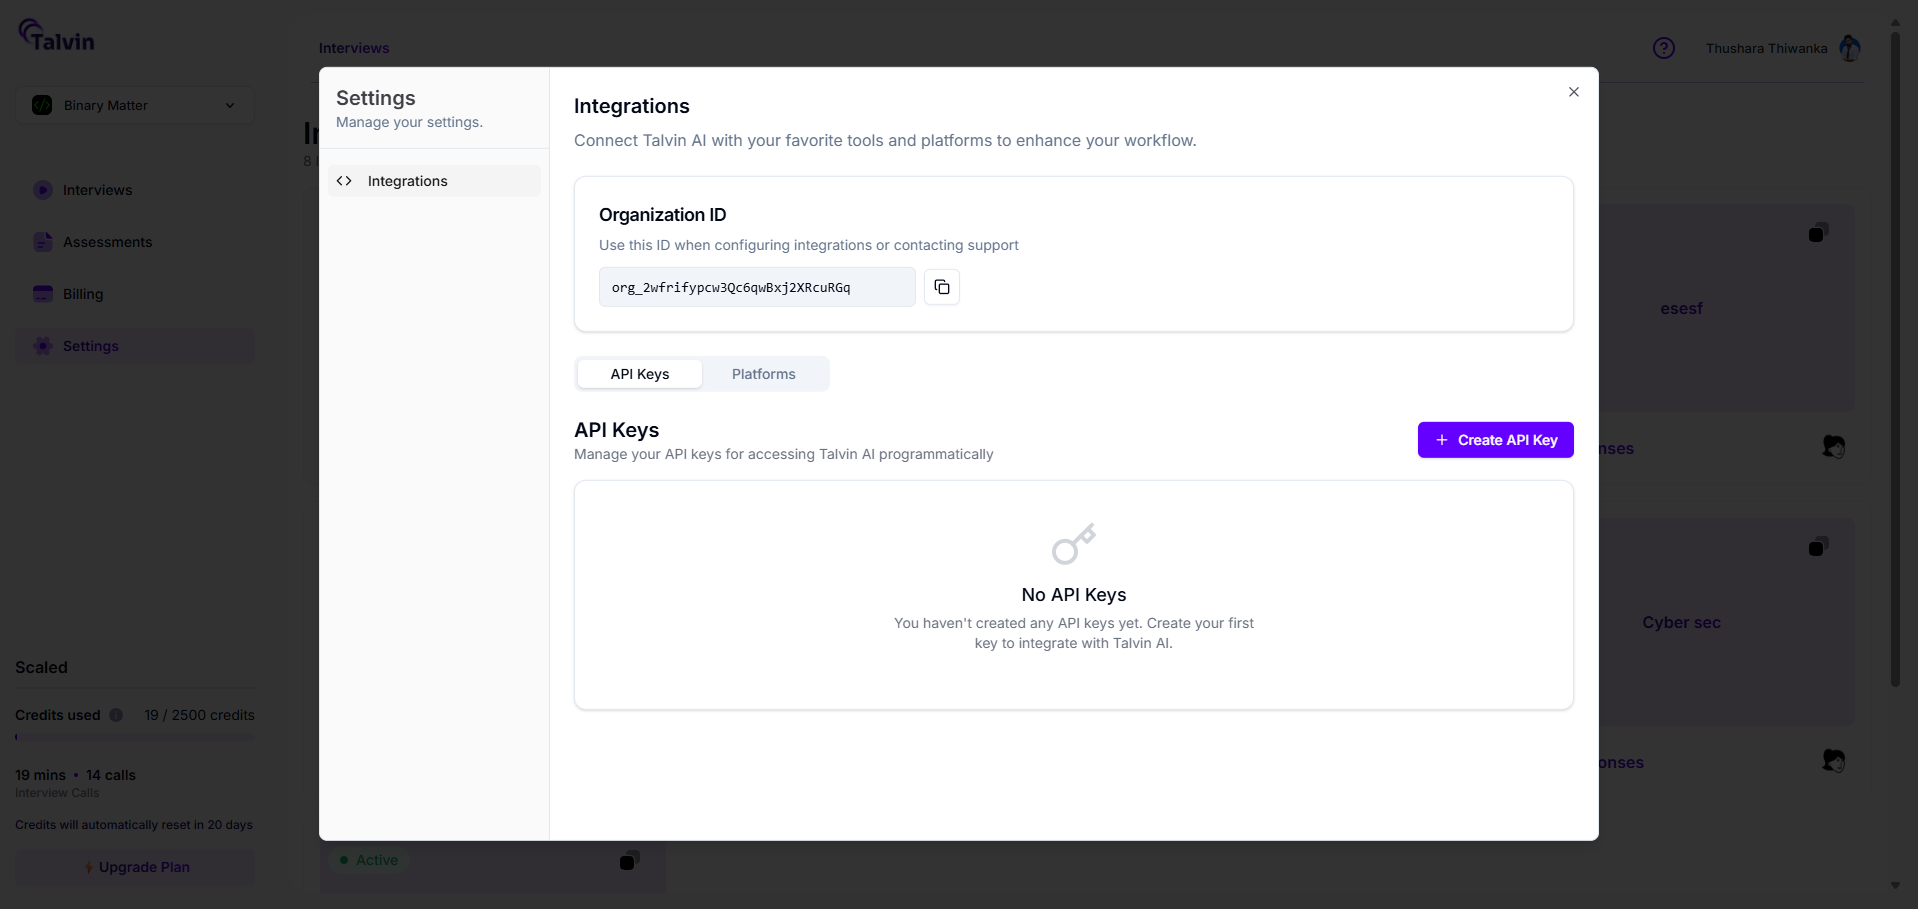
Navigate to the "Settings" section of the application and then select "Integrations." You'll see a section for "API Keys."
The API Keys section will initially show "No API Keys" if none have been created.
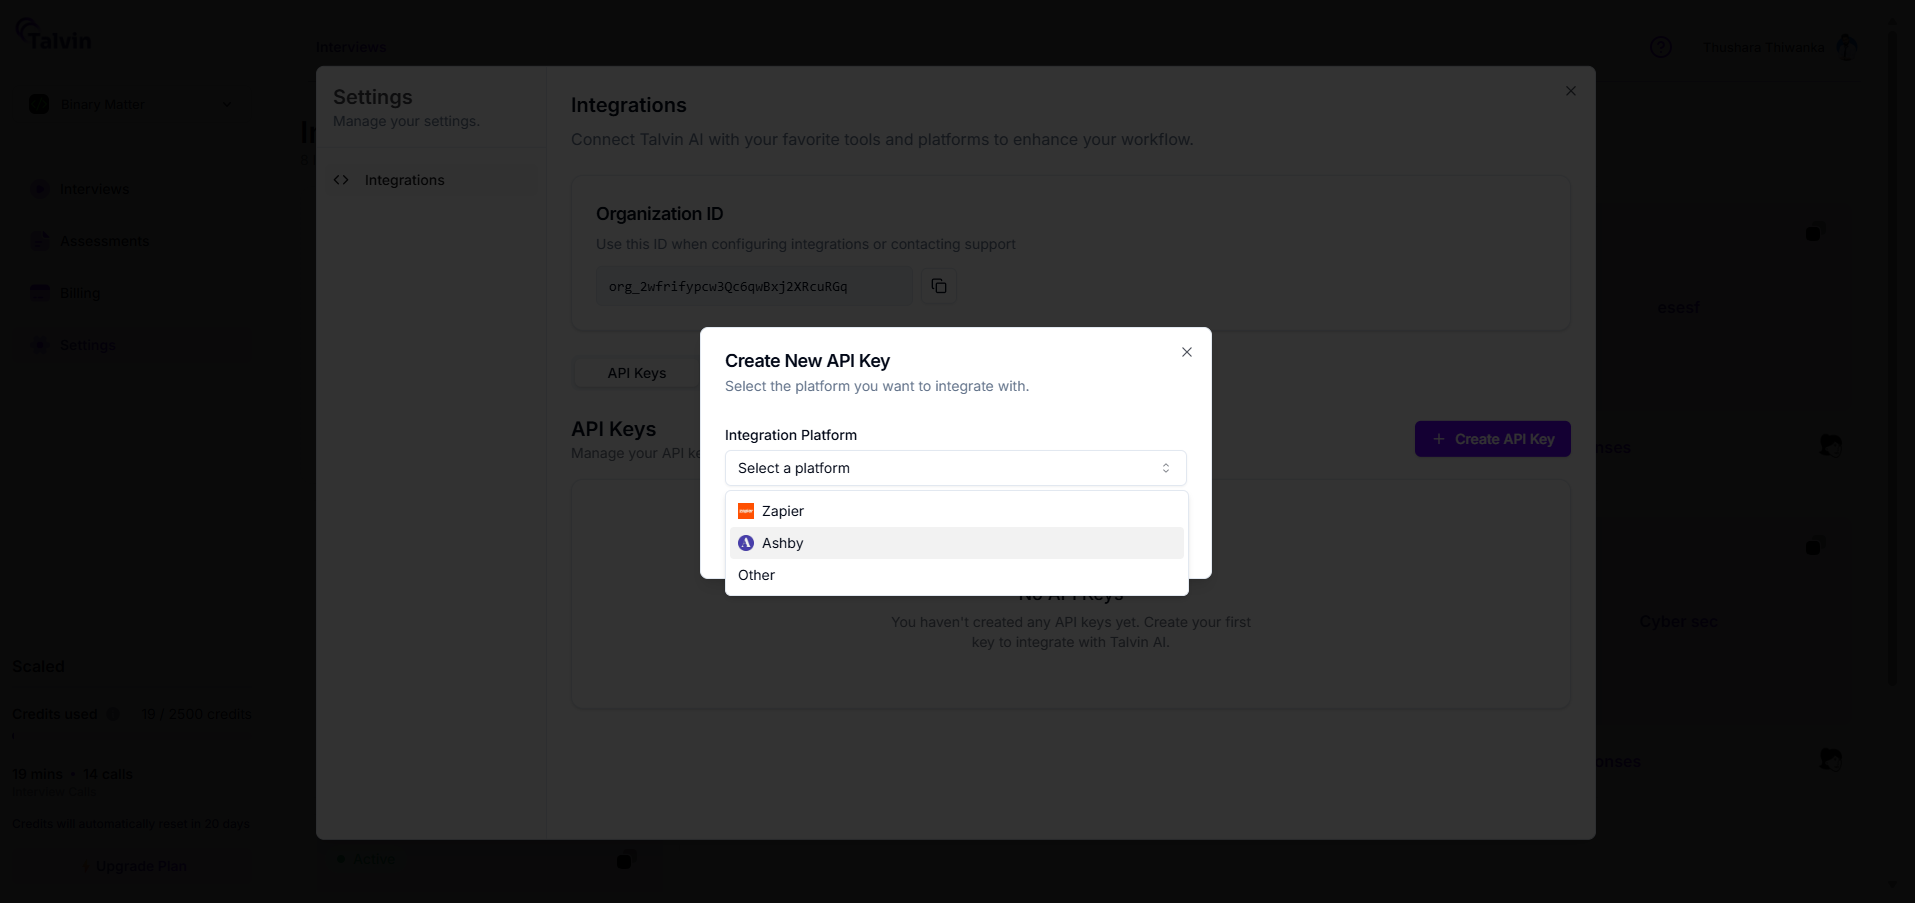
In the API Keys section, click the “+ Create API Key” button.
This opens a pop-up window titled “Create New API Key” with fields for integration details.
In the pop-up, select the Integration Platform "Ashby" from the dropdown. Then,
Click the “Create API Key” button to proceed.
After clicking Create, a new pop-up titled "Your New API Key" appears. It displays the API Key Name and the generated API Key value.
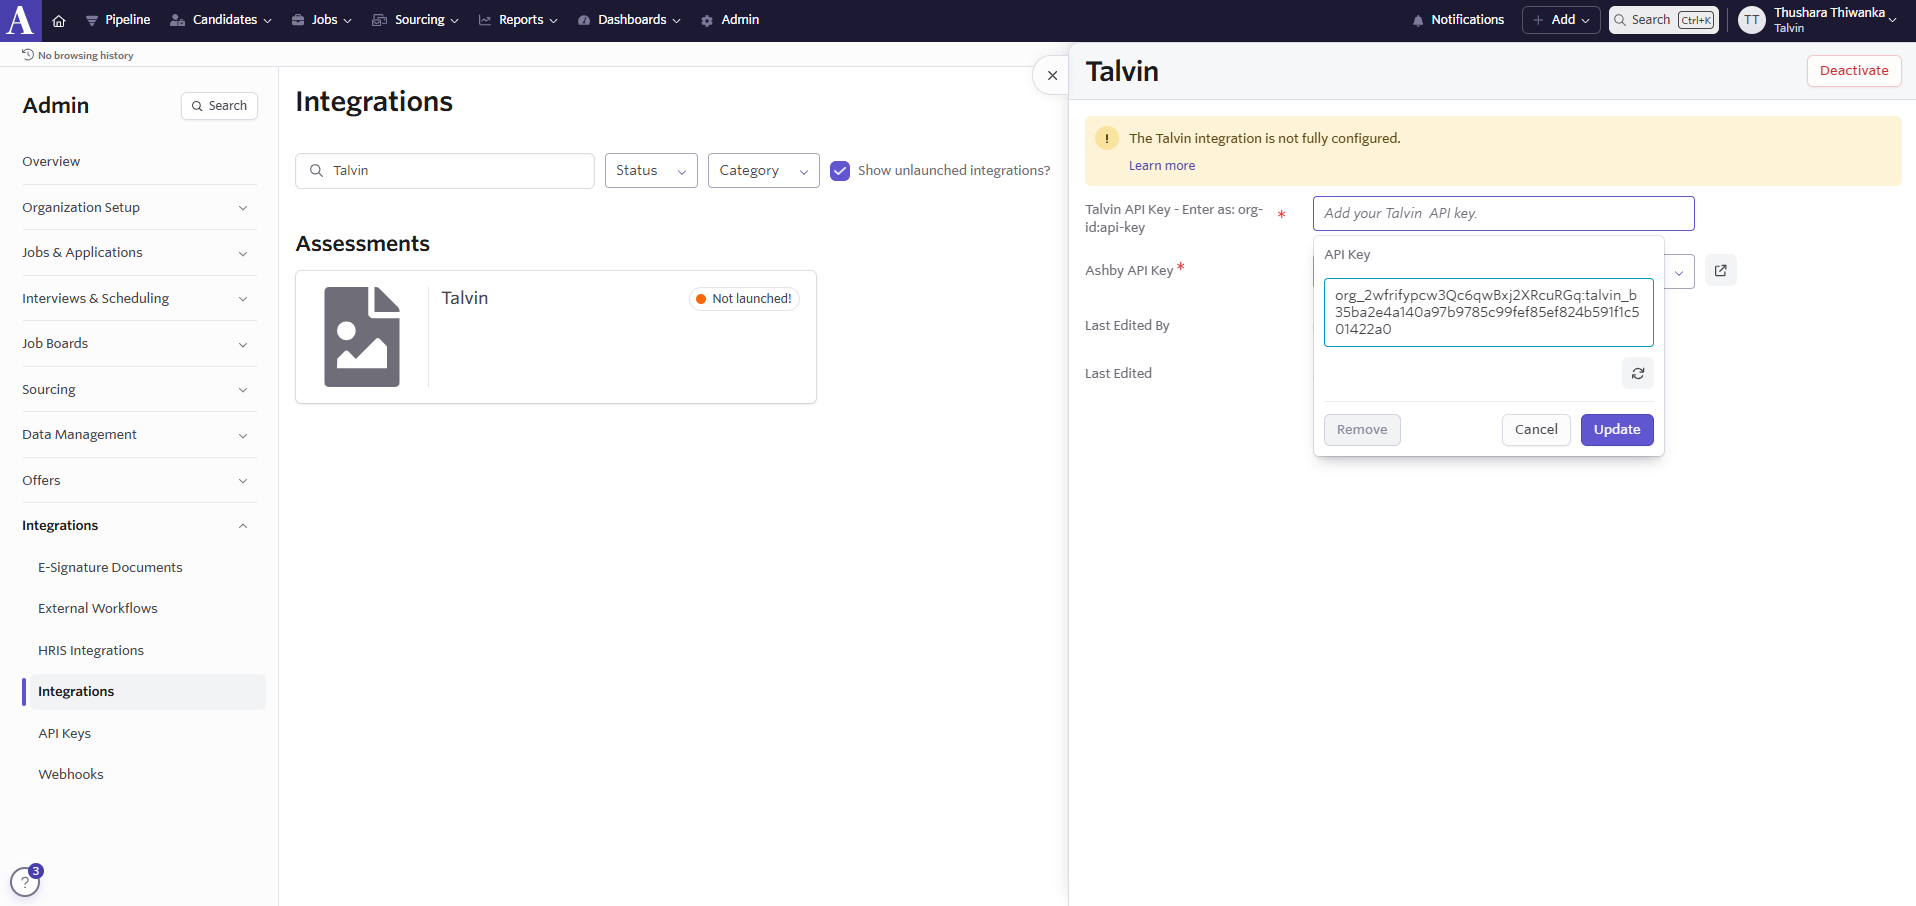
When you copy the API Key for Ashby Integration, it will be formatted as
organization_id:api_key, which is the required format for Ashby authentication.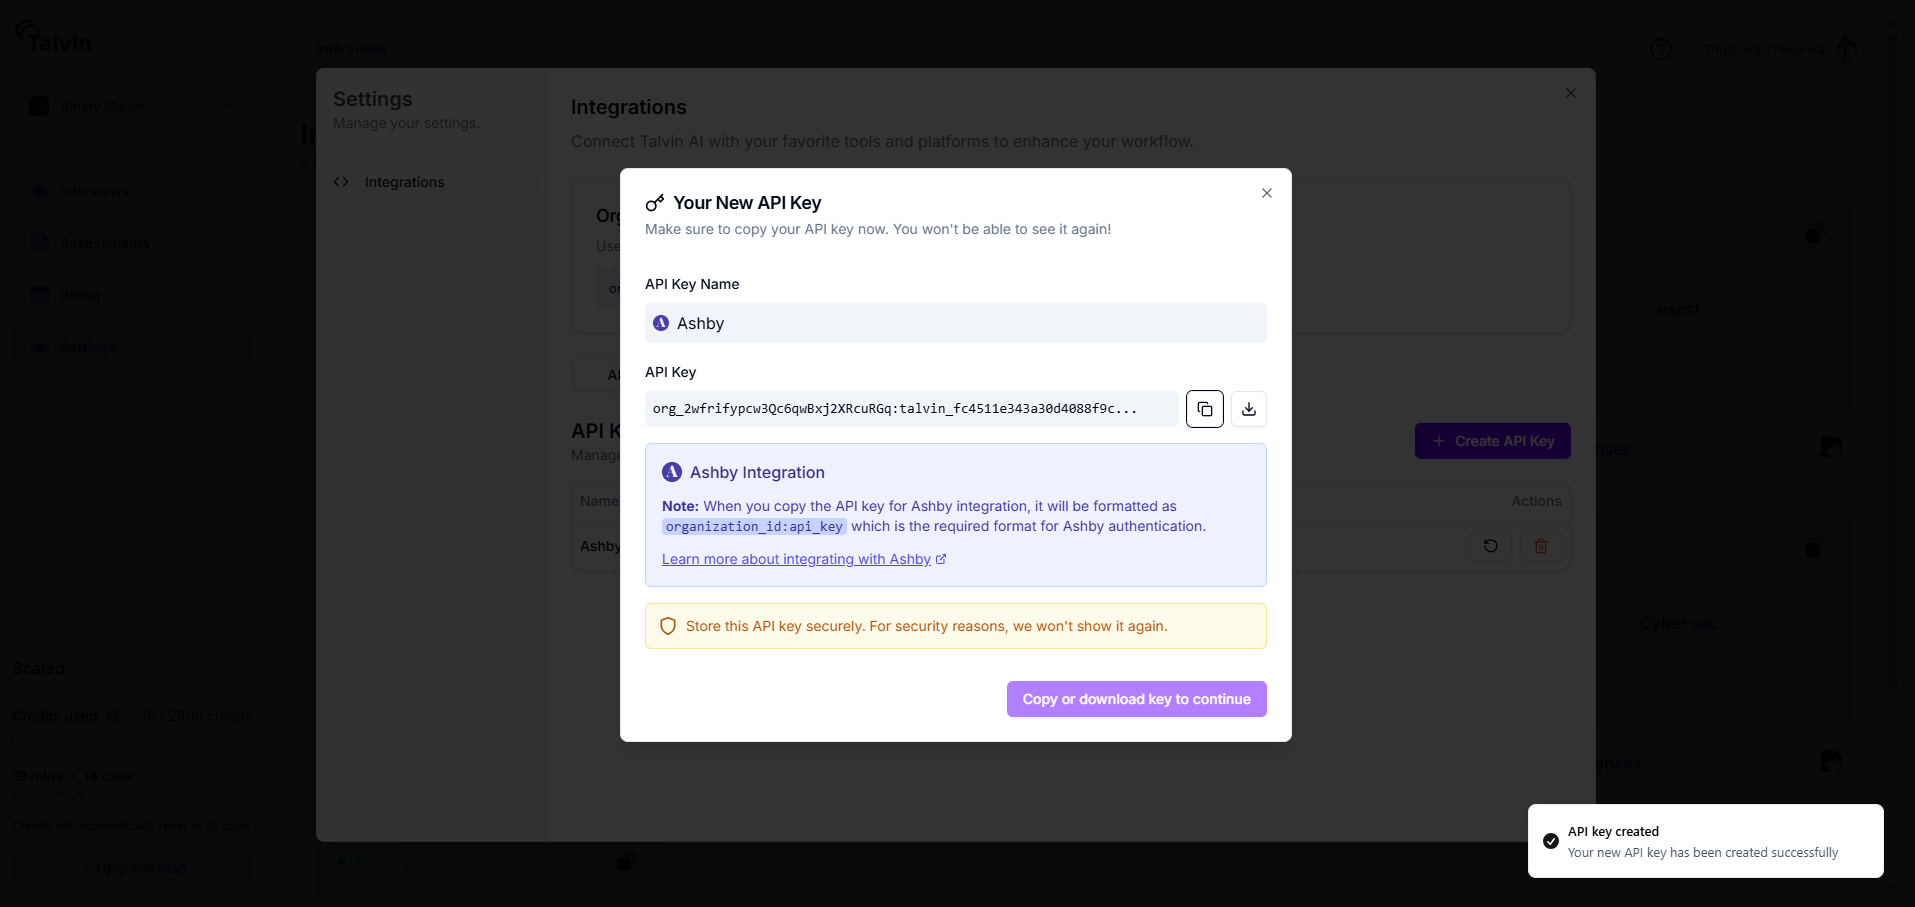
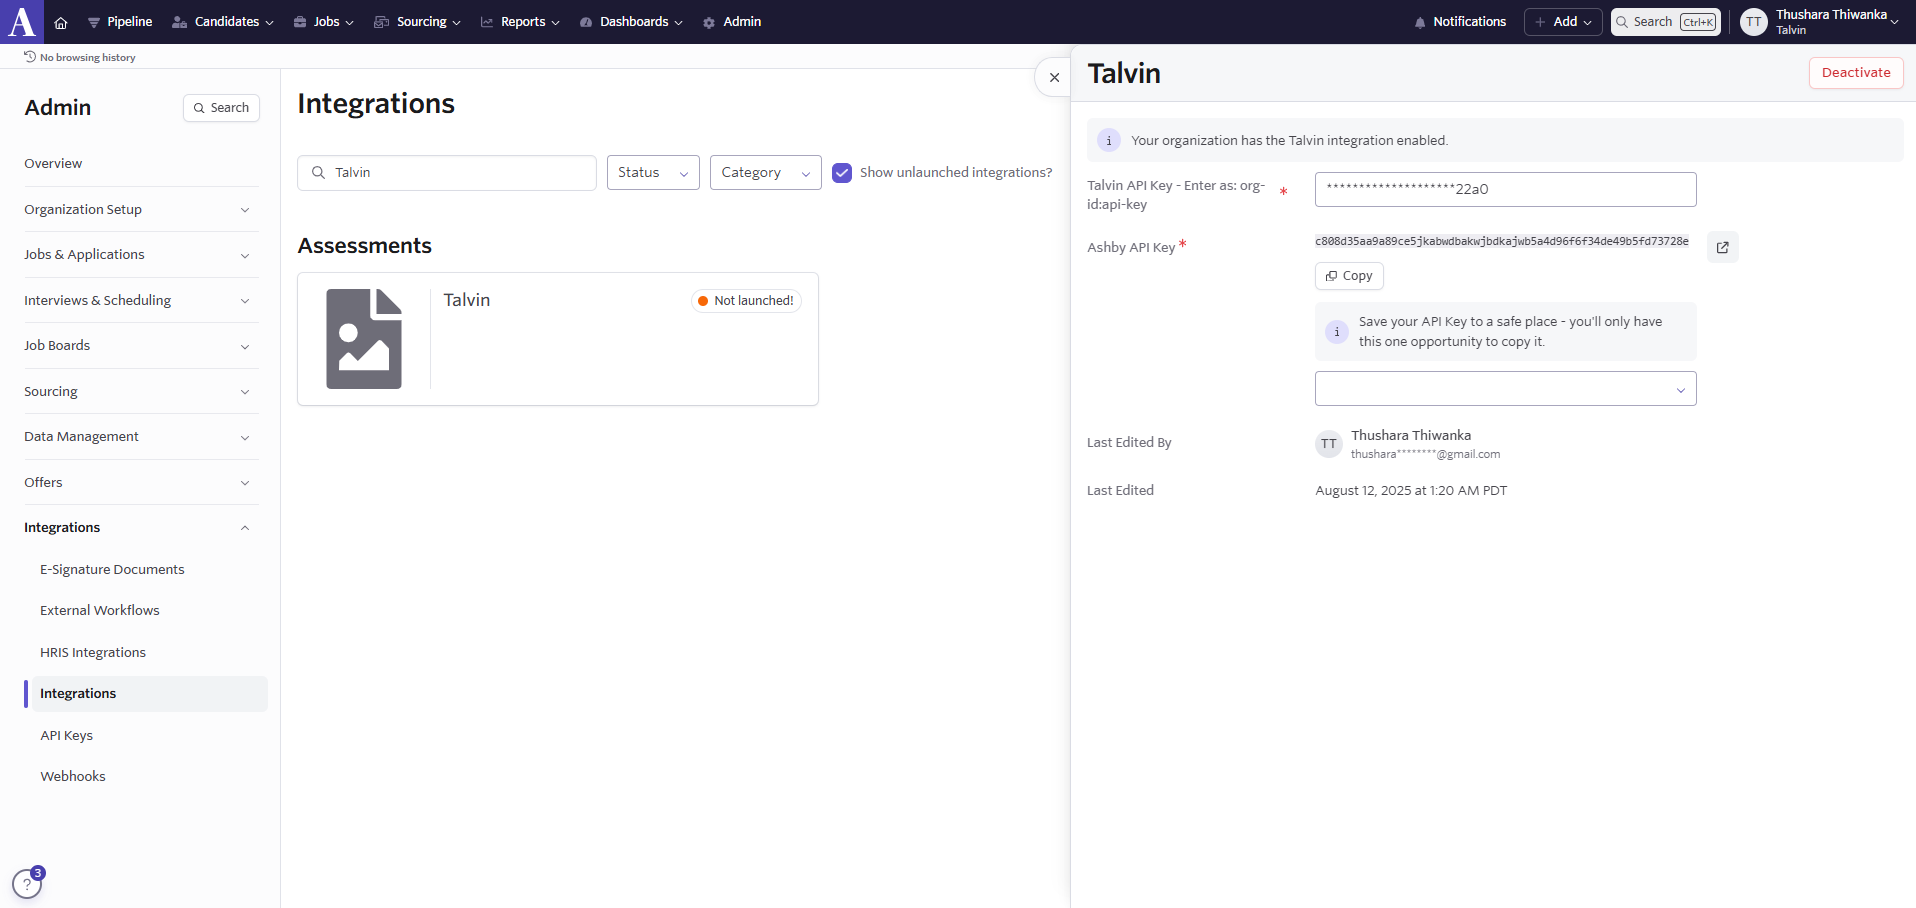
Important: Copy or download this key immediately, as you won't be able to see it again for security reasons.
Next Steps for Integration with Ashby
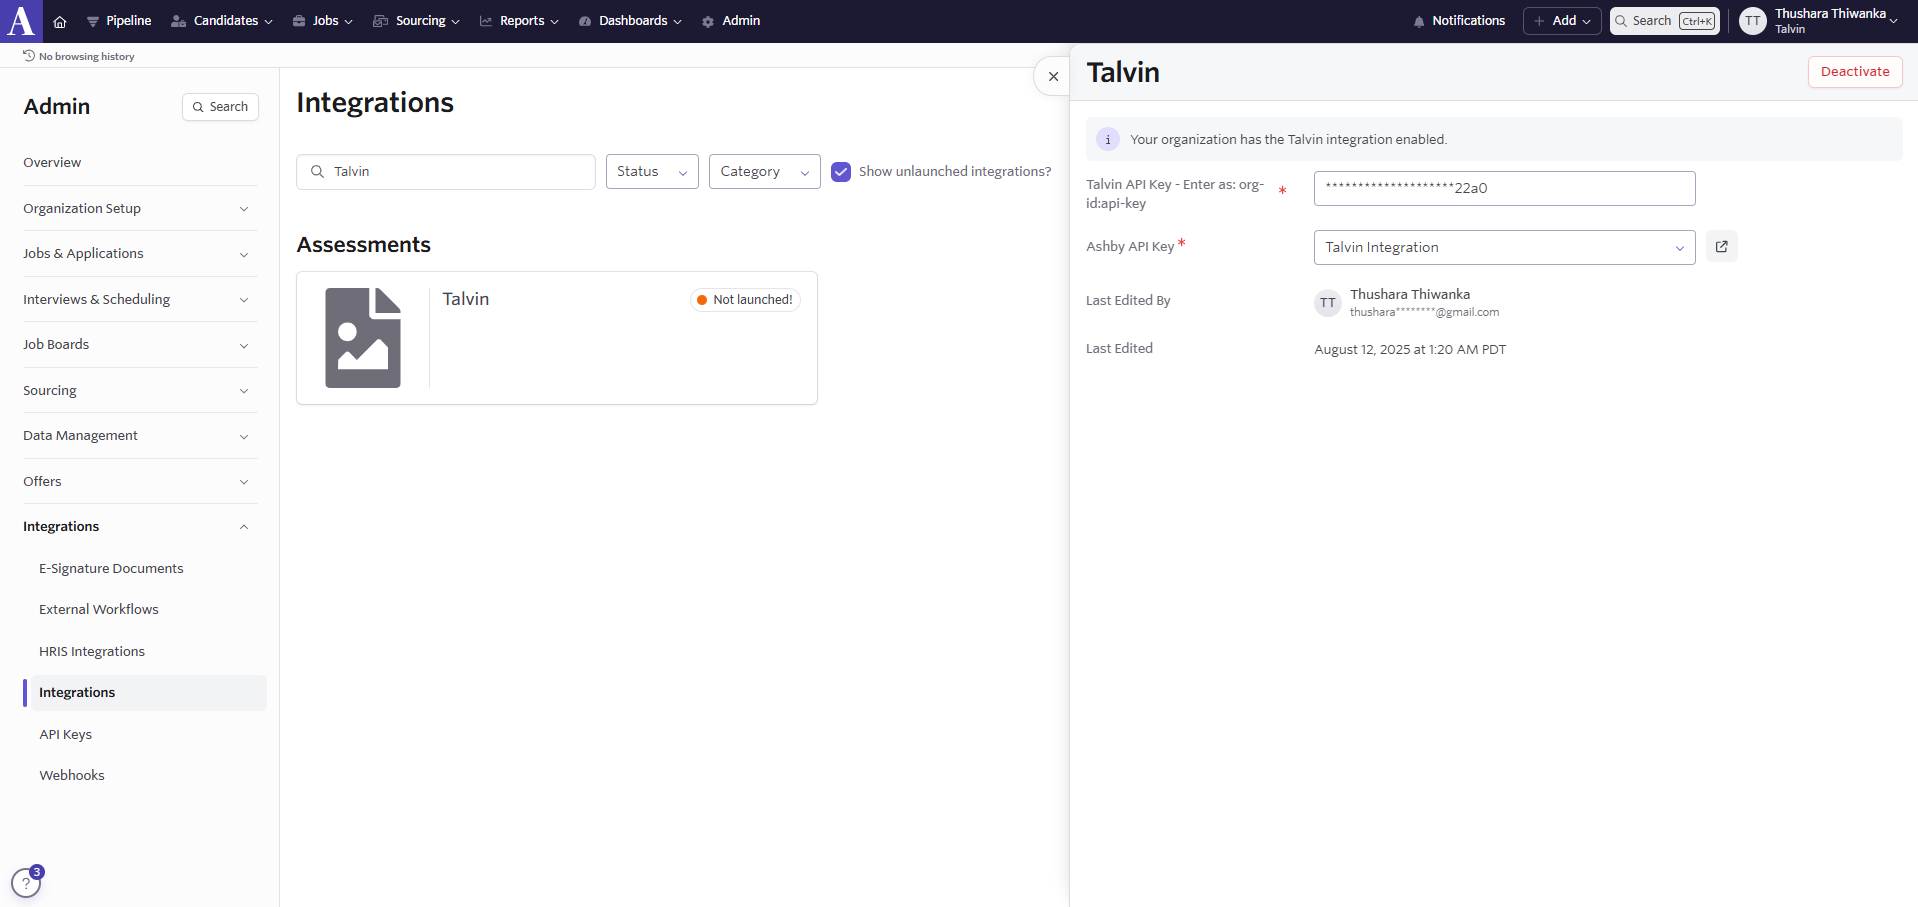
Open a new browser tab and navigate to the Ashby integration page. Log in to your Ashby account if prompted.
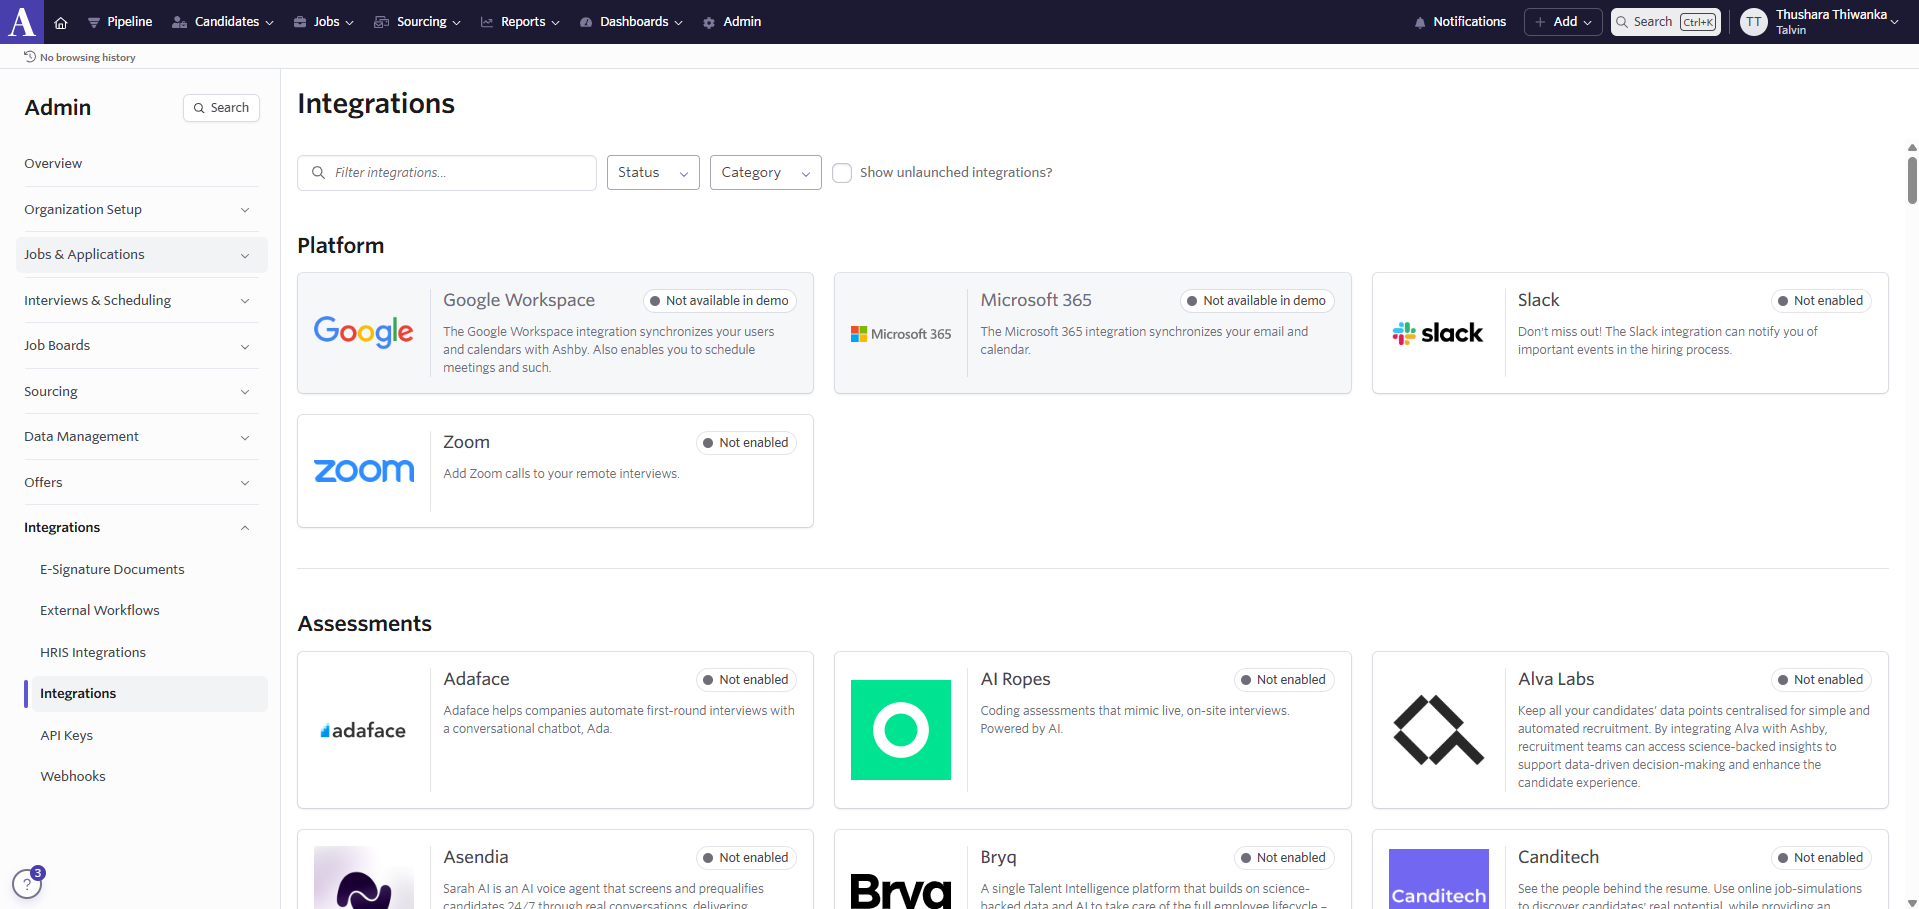
In the Ashby Integrations Marketplace, scroll or search for the “Talvin” integration tile. Click on it to view details and initiate the connection process.
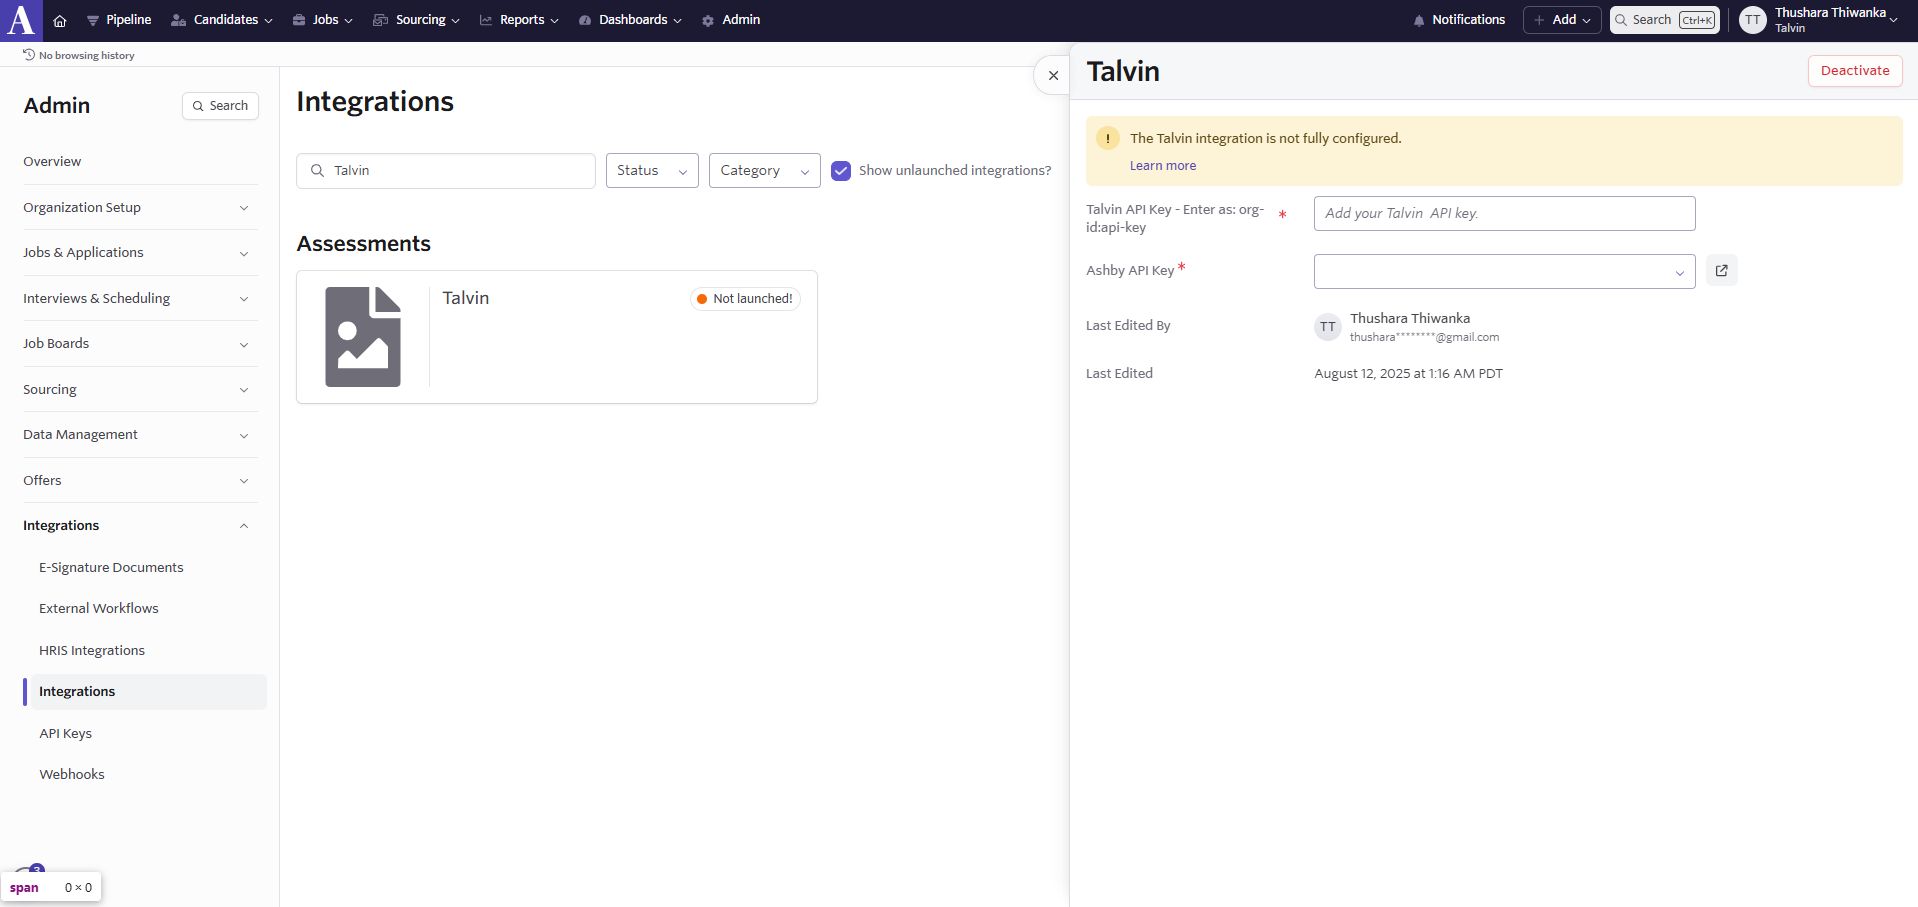
Paste the copied “Talvin API Key” into the provided field and click “Update”.
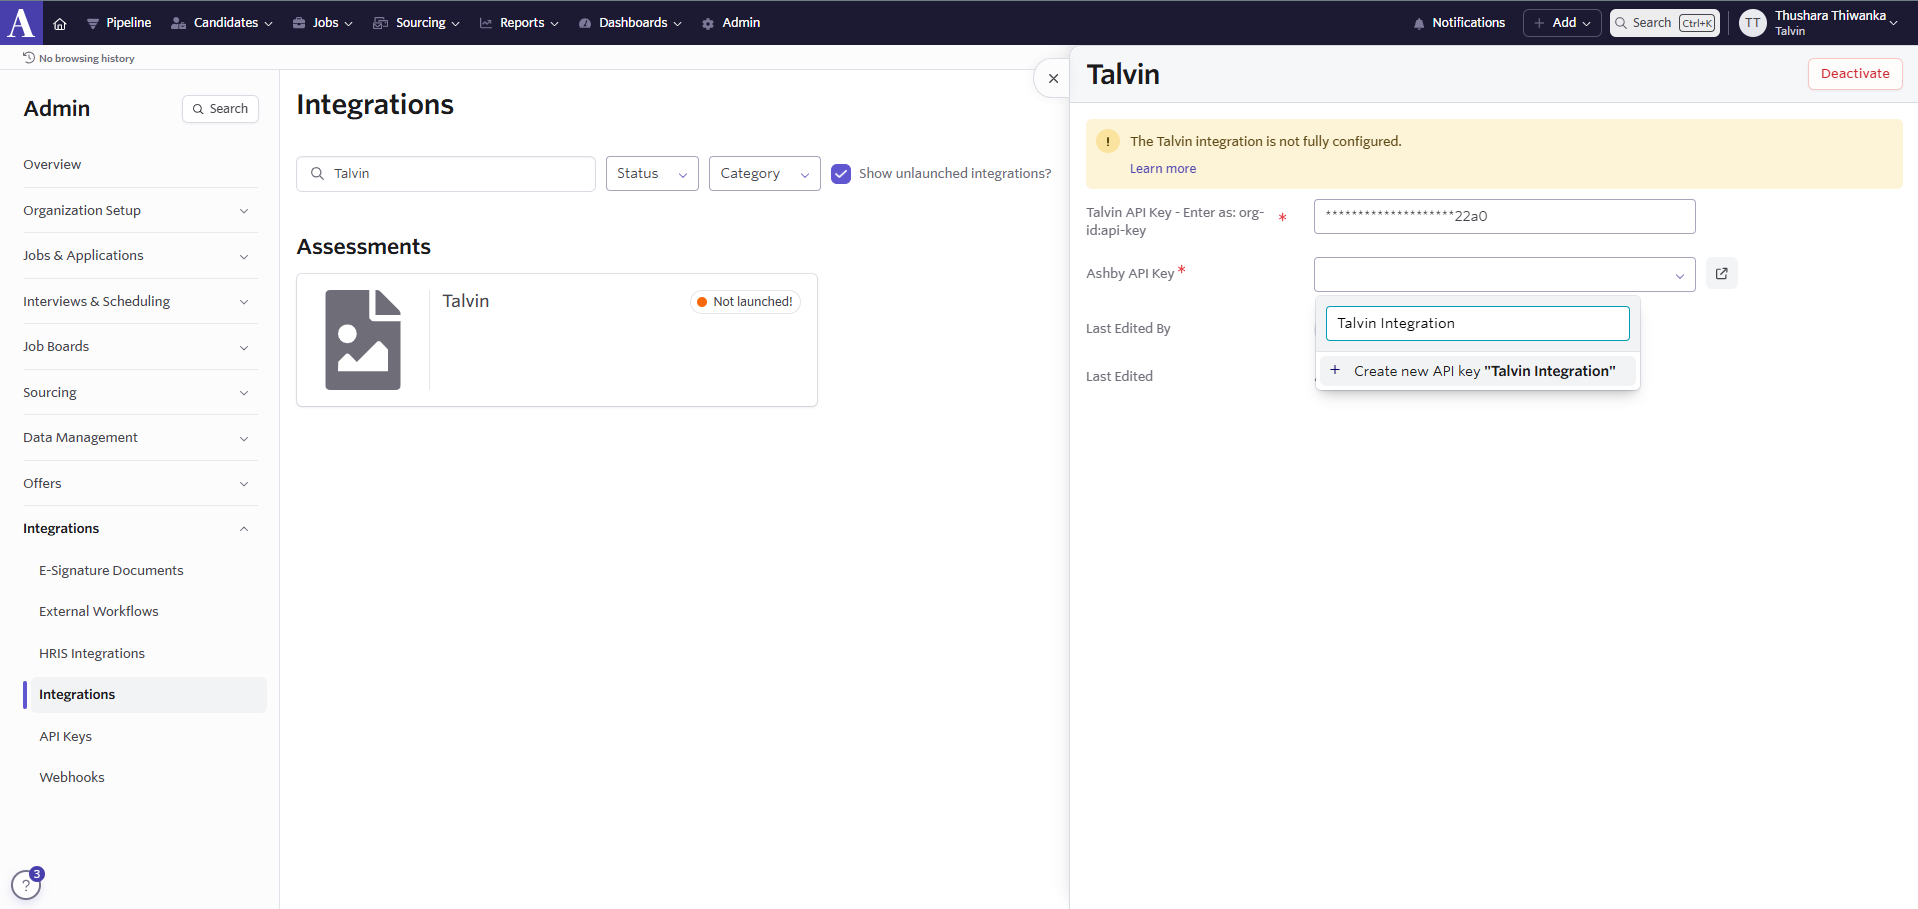
Generate an Ashby API key.
Copy the key to your clipboard when displayed, as it will only be shown once.
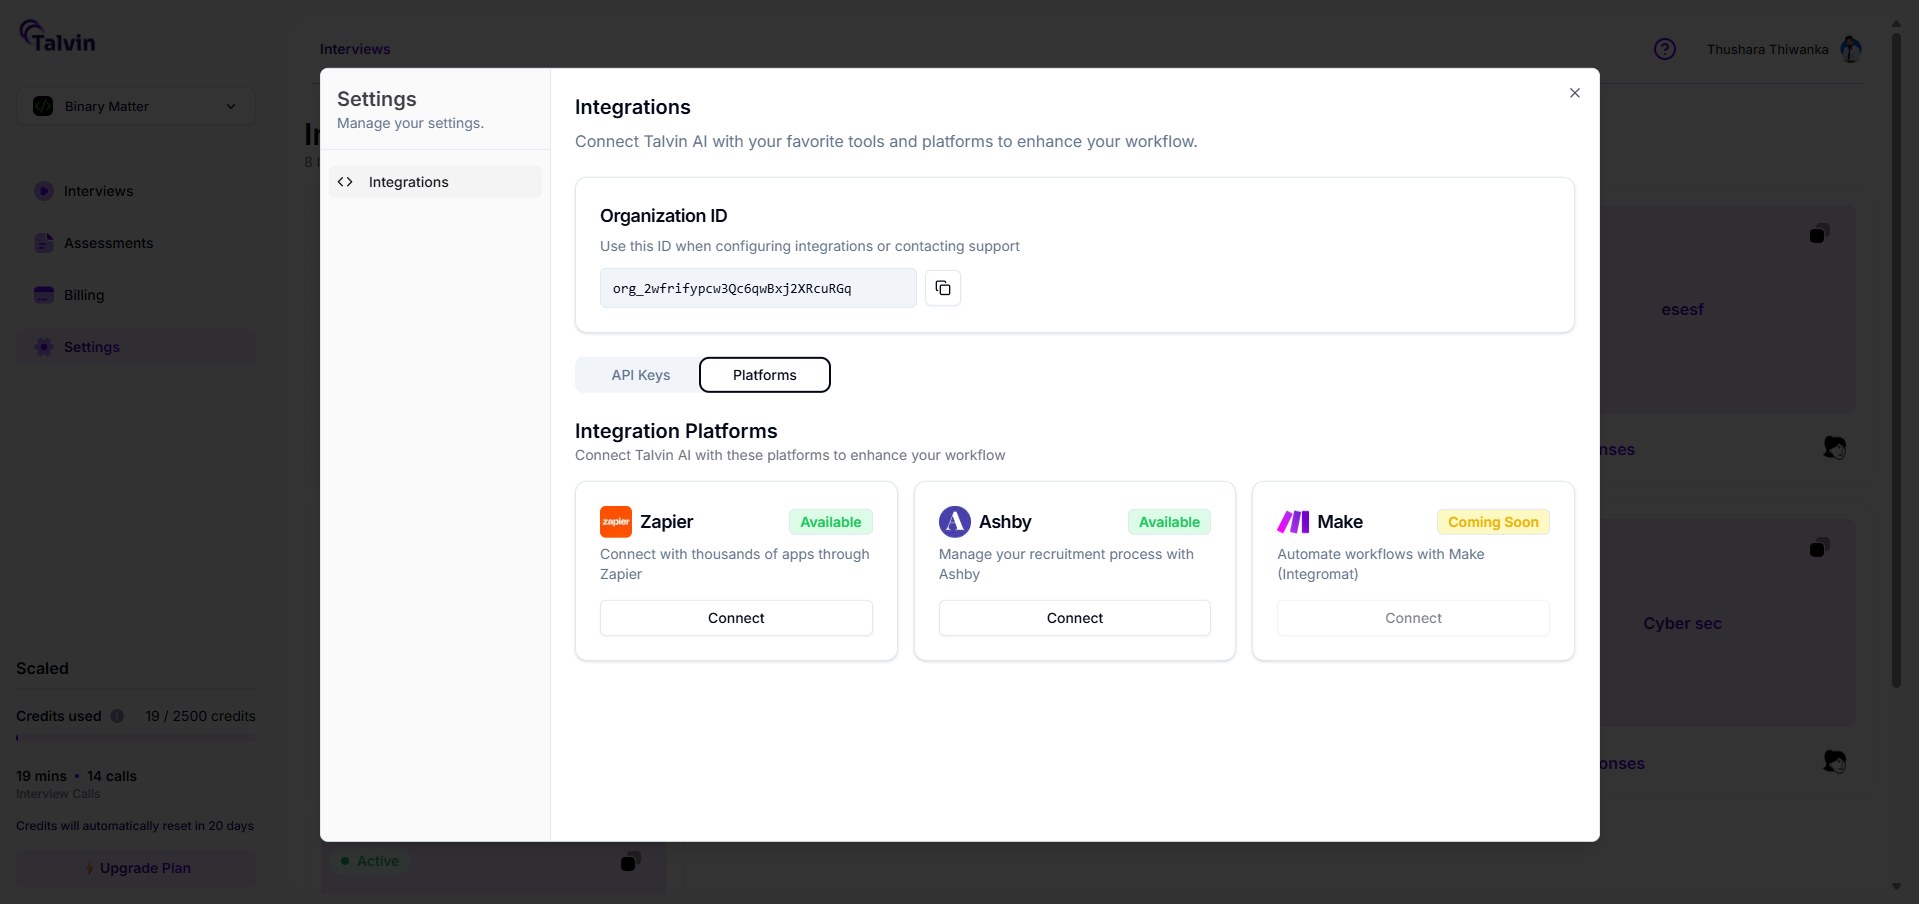
Switch back to the Talvin AI, navigate to Settings > Integrations, and click the Platforms section to view available integration options.
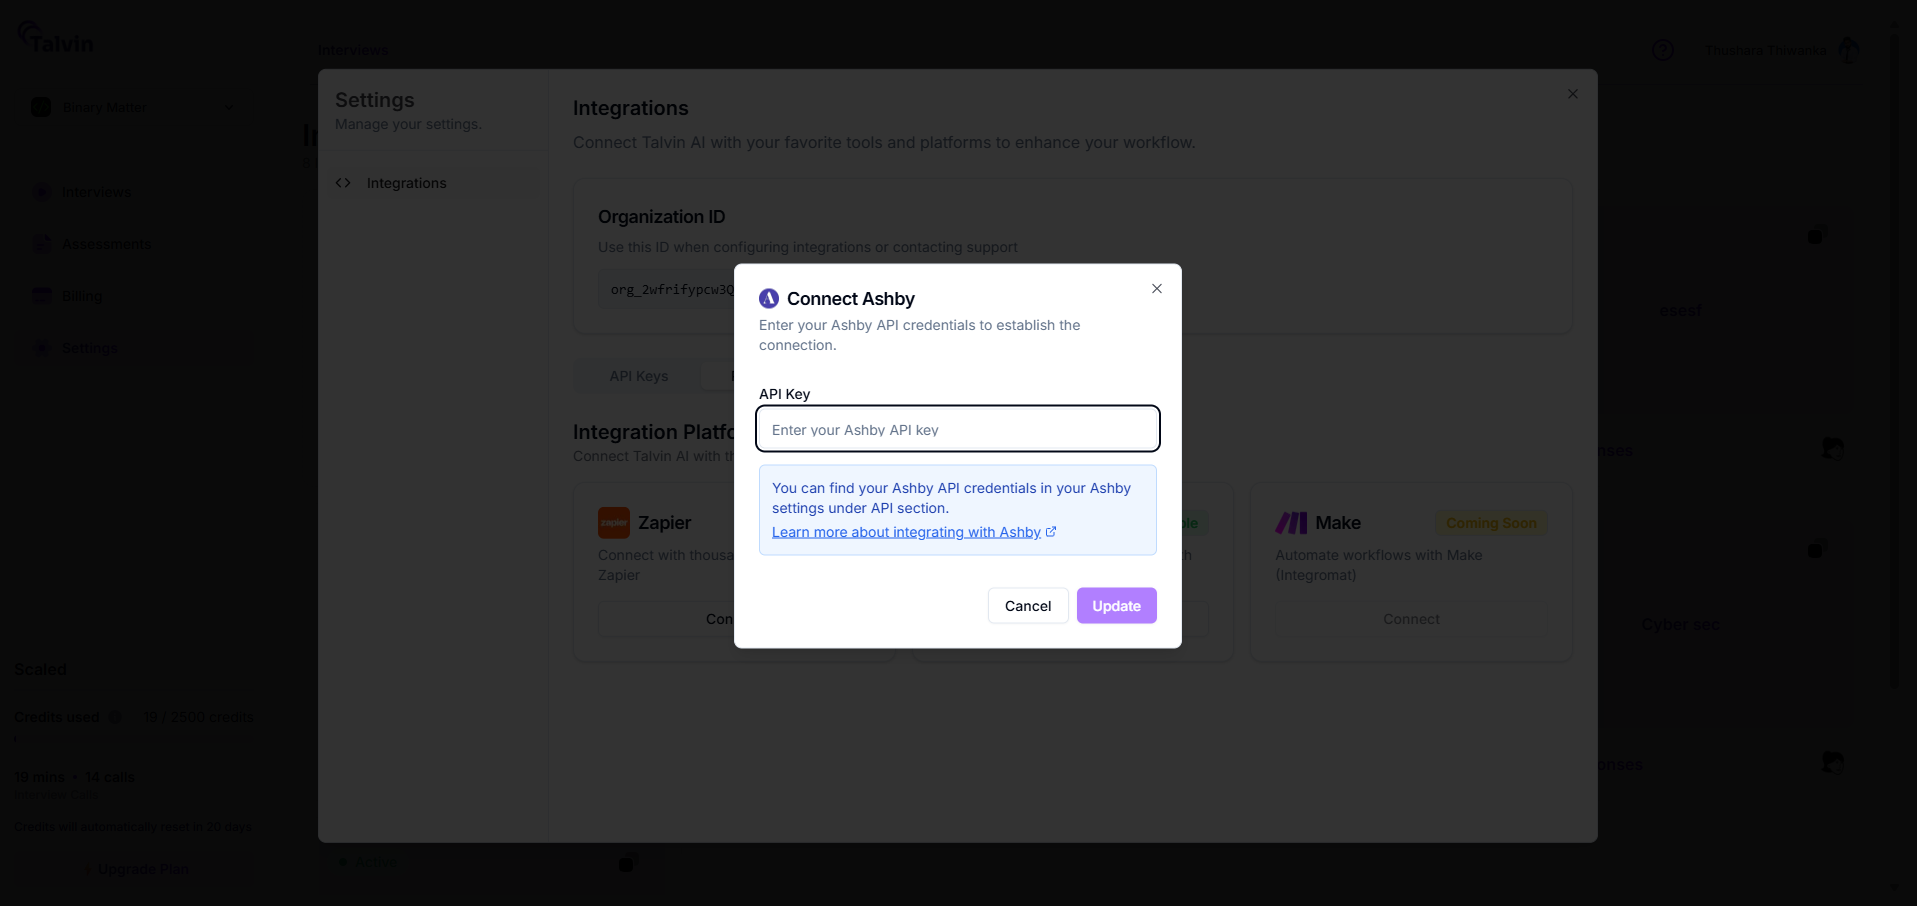
Find the Ashby integration tile and click the Connect button to open the Connect Ashby pop-up.
In the pop-up, paste the Ashby API key you copied earlier into the designated field, then click the Connect button to authorize the integration.

Now you have successfully integrated Talvin AI with Ashby!.
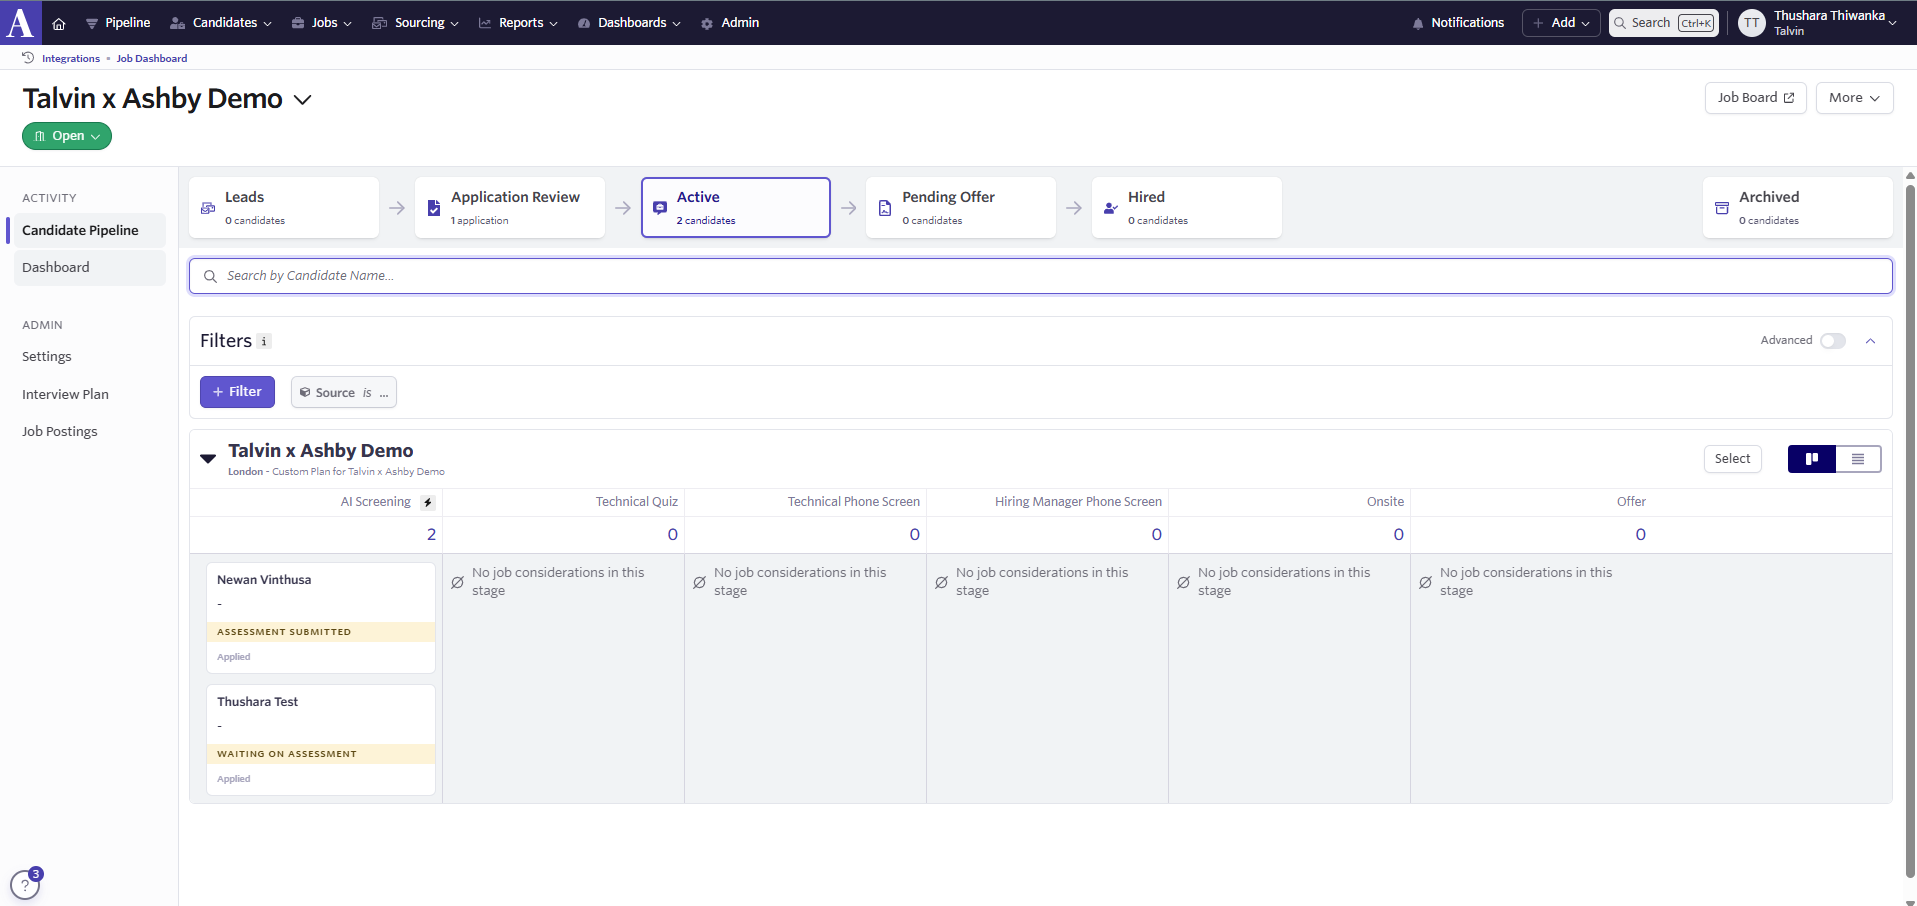
Example Use Case
Navigate to the Job Dashboard and click on a job that you want to integrate with Talvin.
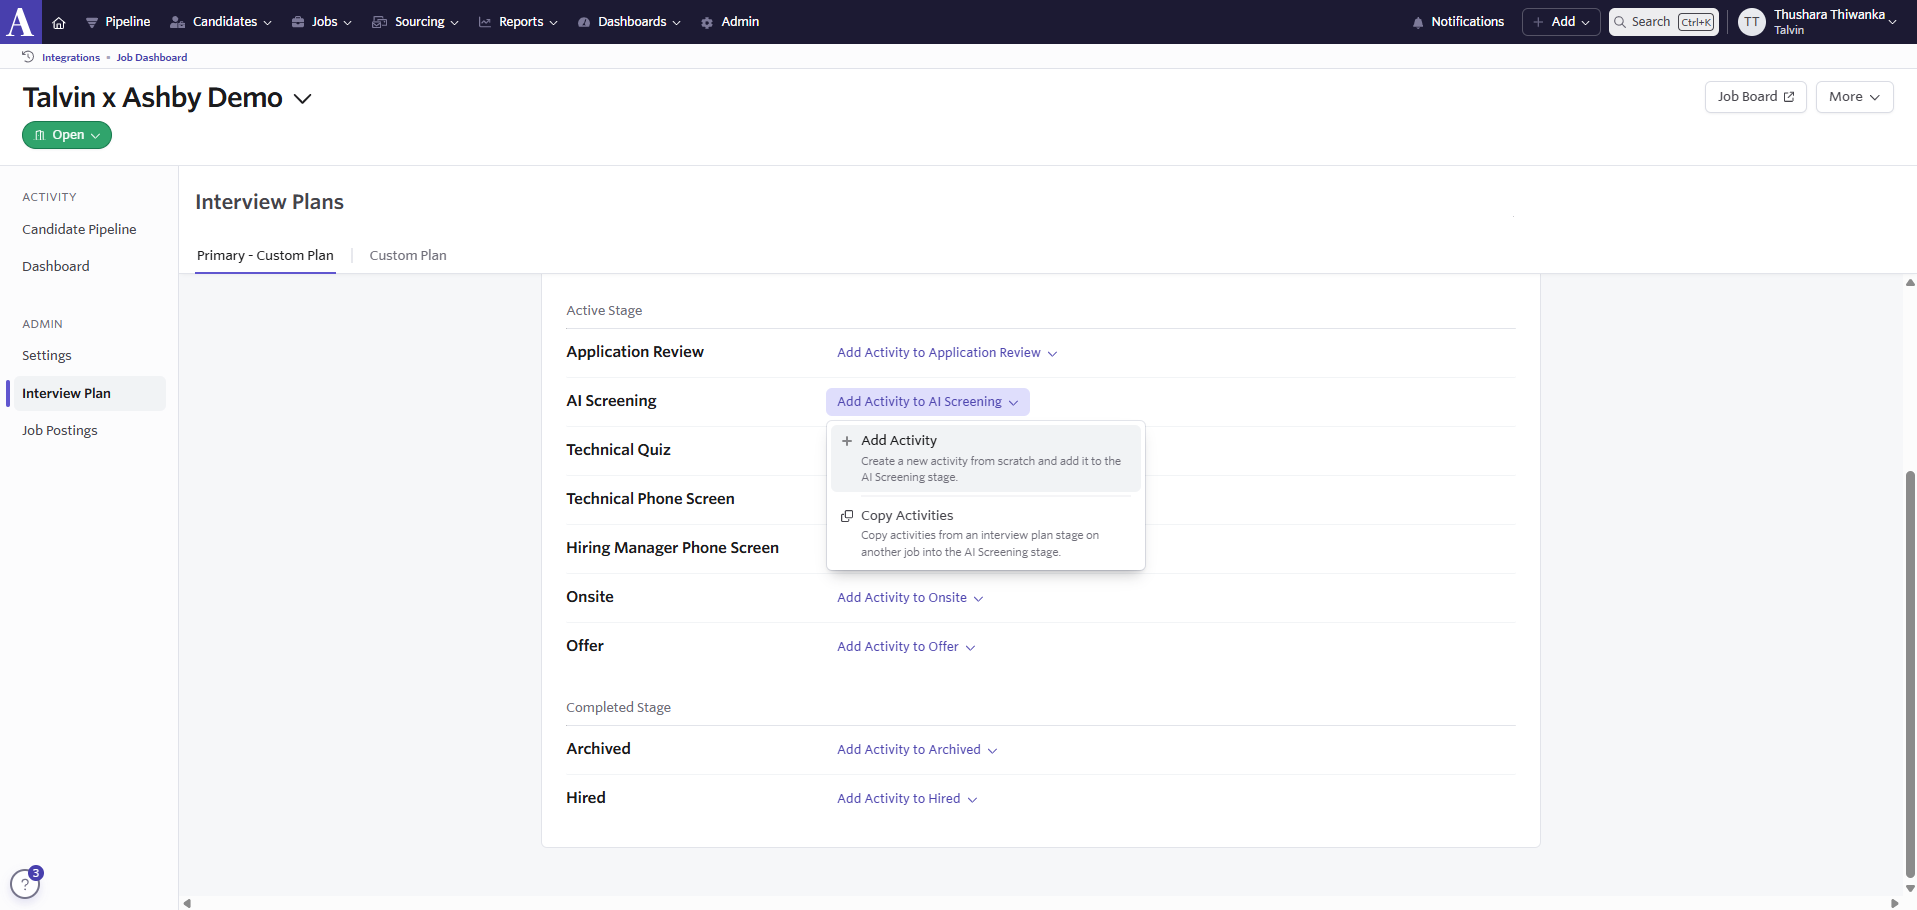
Click on Interview Plans and add a new stage for AI Screening, or select an existing stage and click the "Add Activity to AI Screening" dropdown, then click "+ Add Activity".
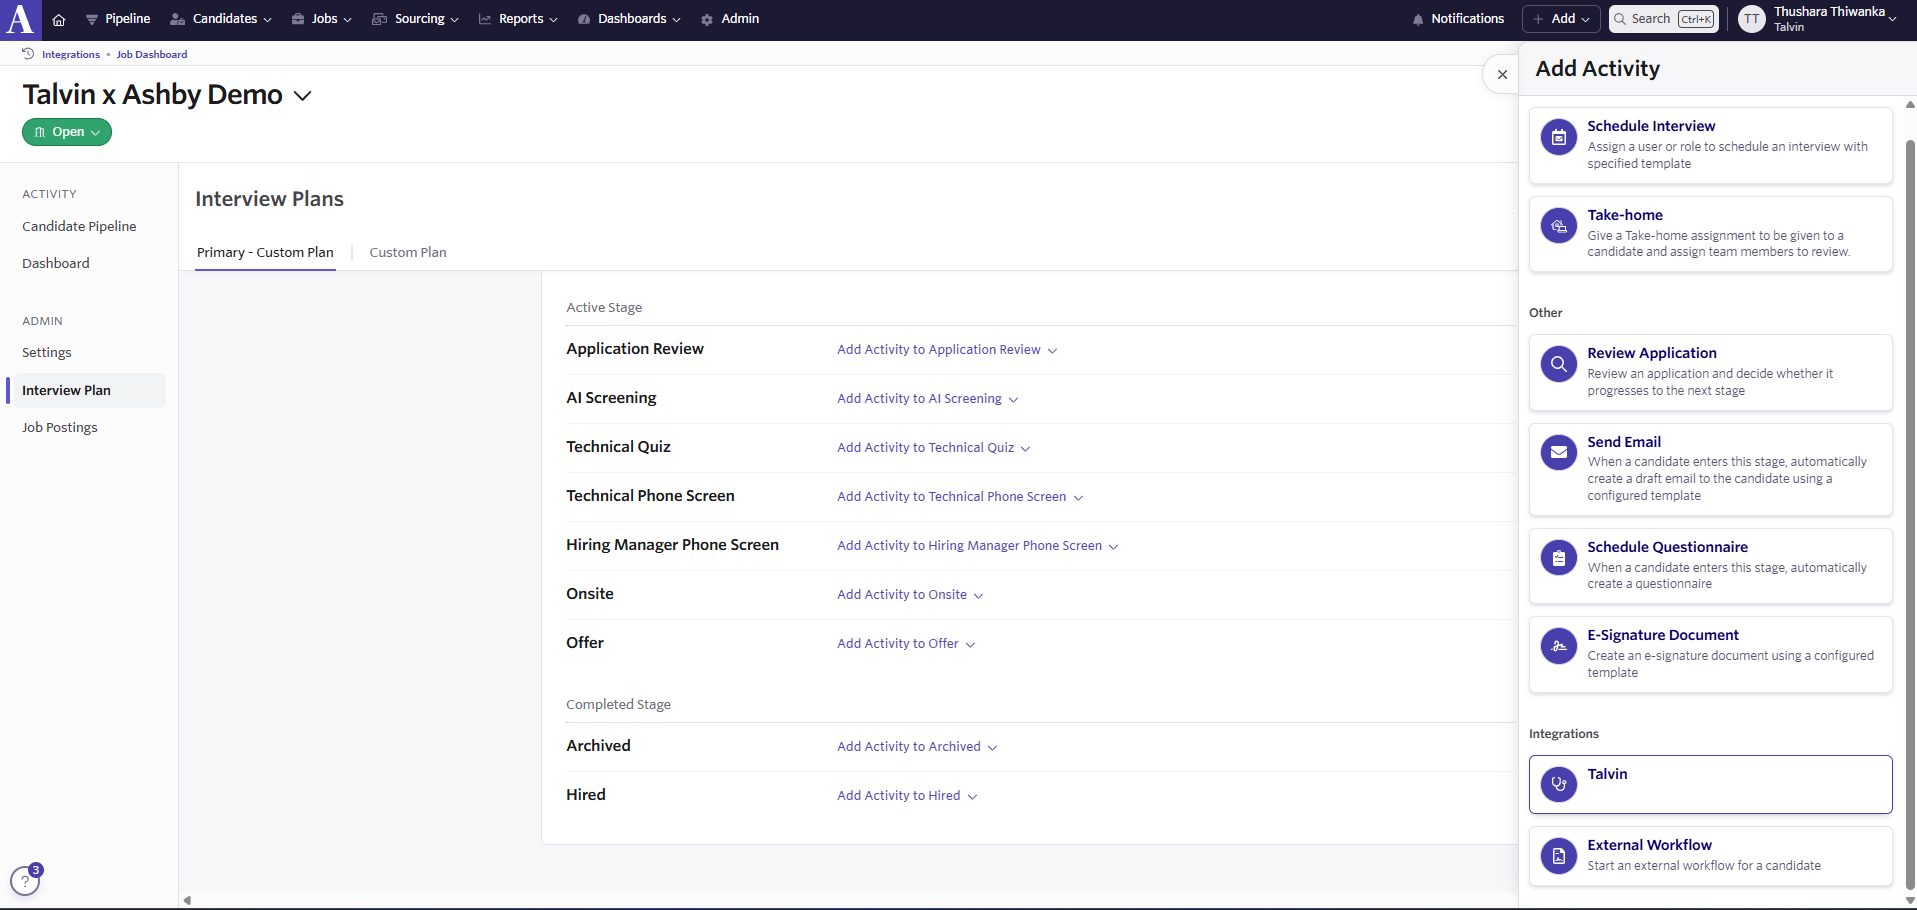
Select Talvin from the Integrations section.
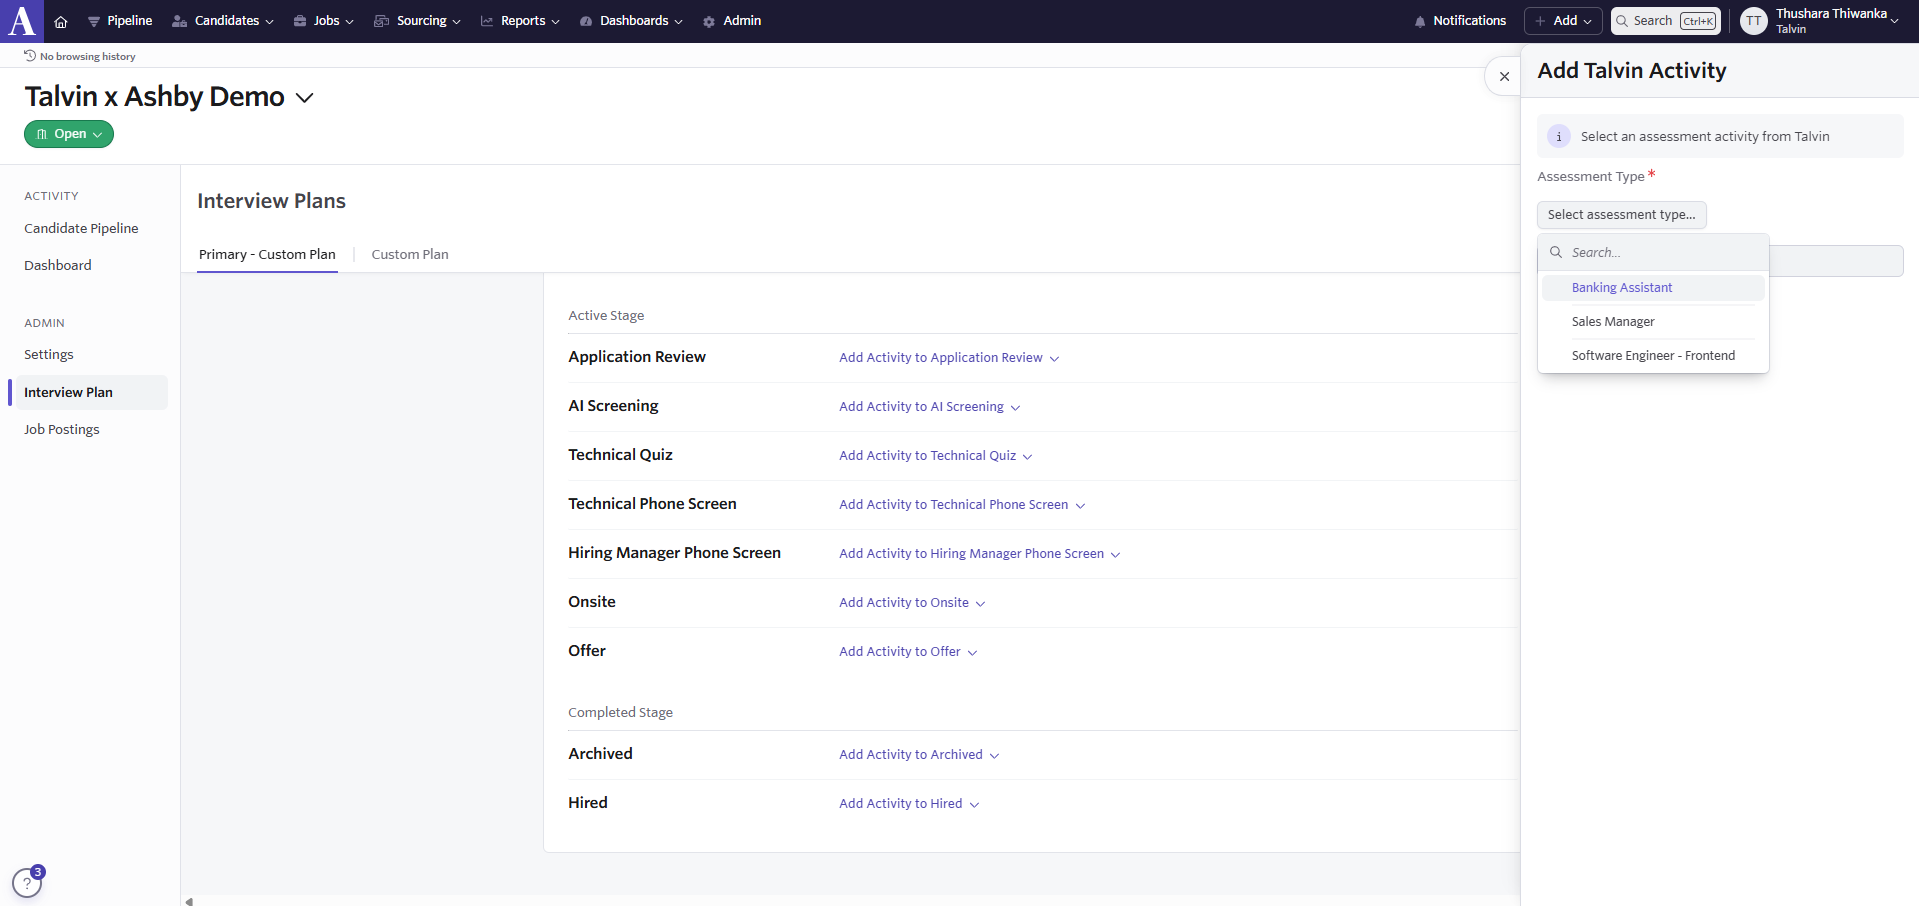
From the Assessment Type dropdown, select the Talvin interview that you want to connect with this job and click Add.
To enable Automation for this Assessment, click on the Modify dropdown next to the Talvin Assessment and click Edit.
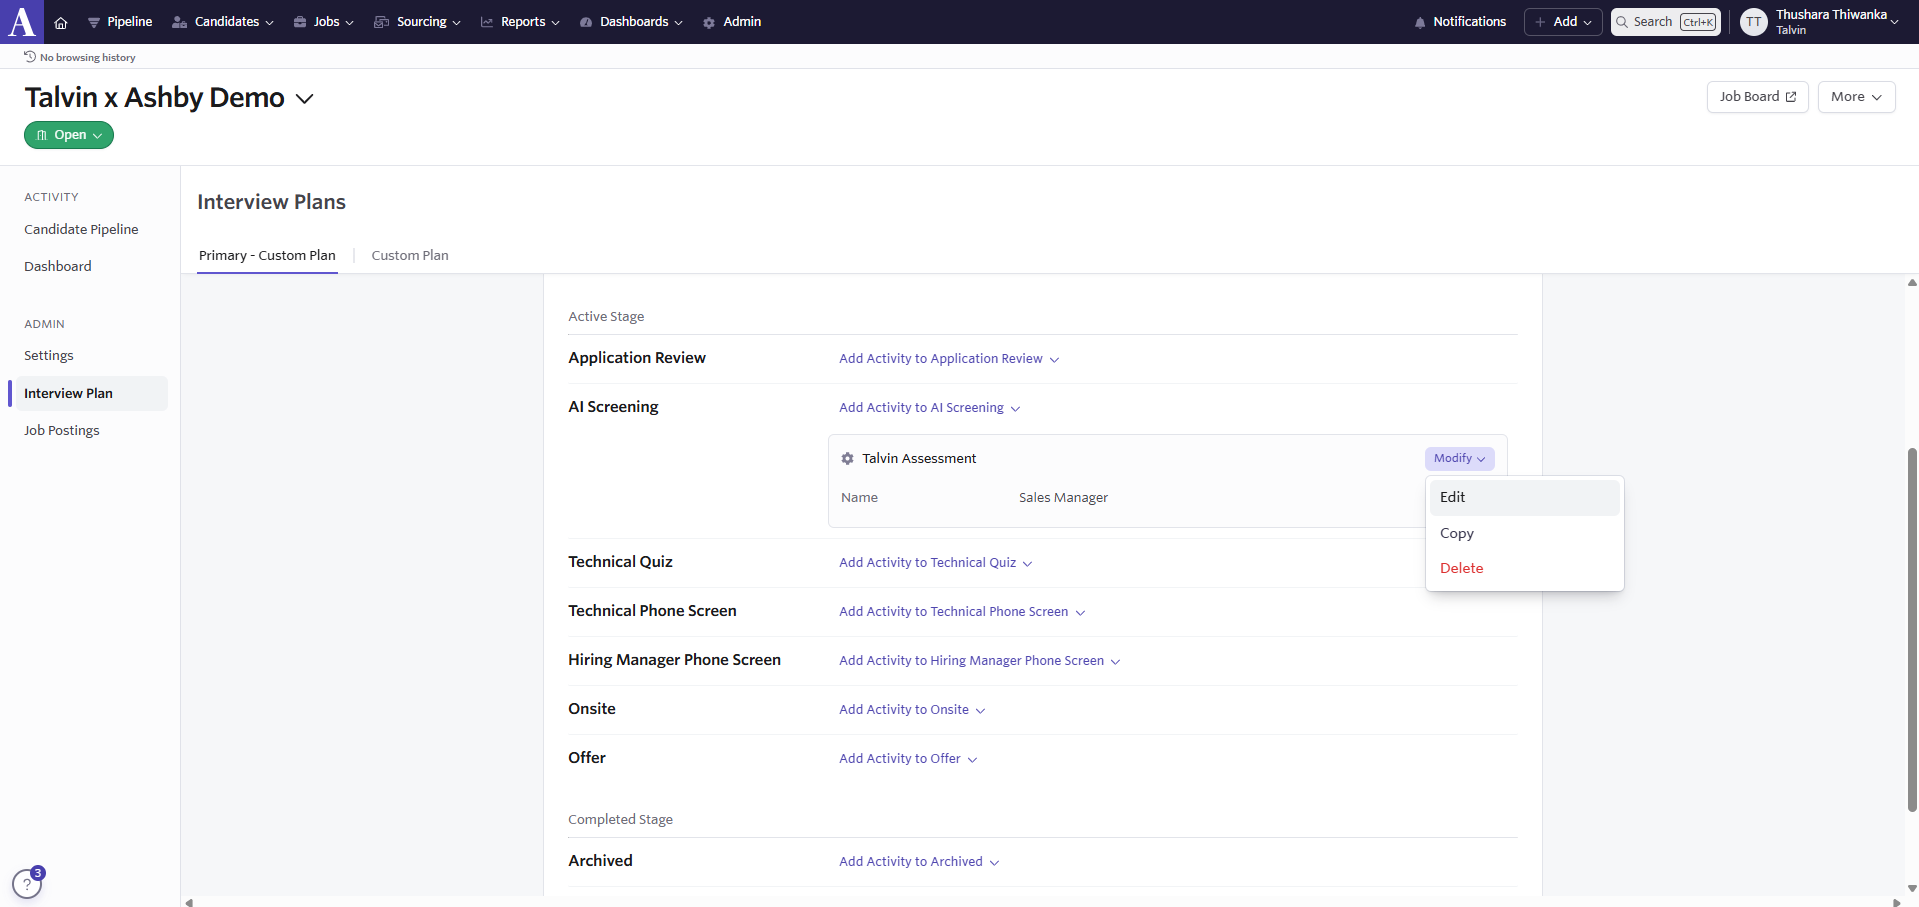
Select the Automation tab and enable Automate on Stage Entry.
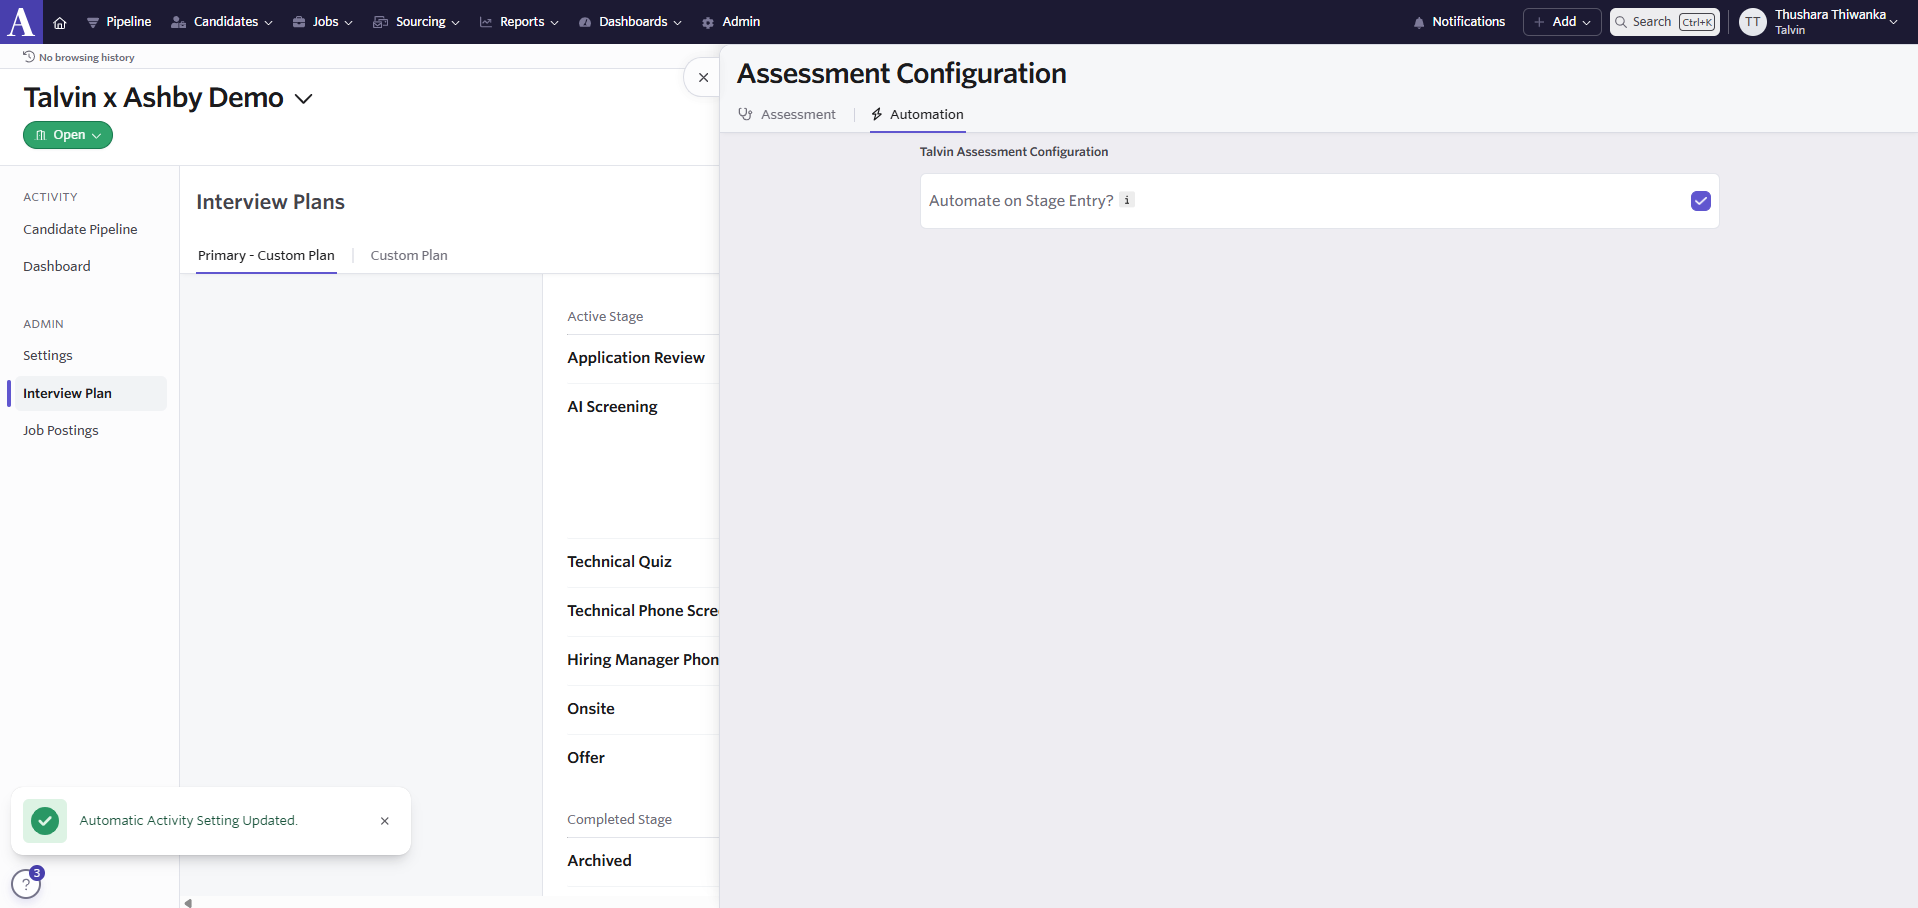
Now, when a candidate application stage changes to "AI Screening" the candidate will receive an email with a link to the AI interview.